Invoices
Invoices
From this page, you can create a new Invoice. (see figure 1).
On Opening Invoicing page it will take you to Billing screen.
How to create a new Invoice ?
- Navigate to Menu > Transaction > Invoicing (or) click on Invoice from dashboard
- It will take you to Invoice history screen and click on New to create Invoice.
- Select Customer if the customer information is already saved
- If customer details are not available then register a new customer
- If Customer is not providing details then proceed as Anonymous customer
- From Categories pane select the Product category
- From Products pane select the Product to take the invoice
- If you want to give specific discount on the product use icon for Tax and Discount
- Then Select on payment
- Enter the amount and finish the flow by selecting appropriate payment
- You can Print, Share and Email the bills by clicking options available for Print, Share and Email respectively
- In Just Billing application it is possible to collect payment in more than one payment mode for one bill like partial amount by card, cash, wallet etc.
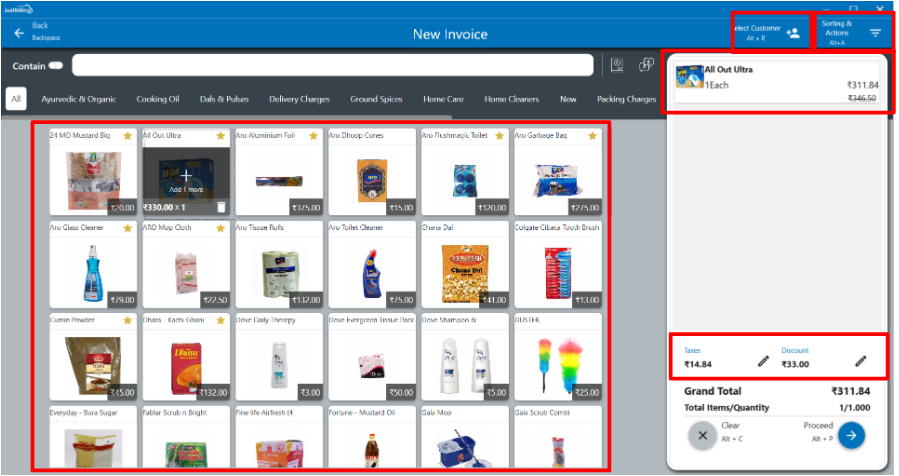
(Figure 1 - Invoices page)
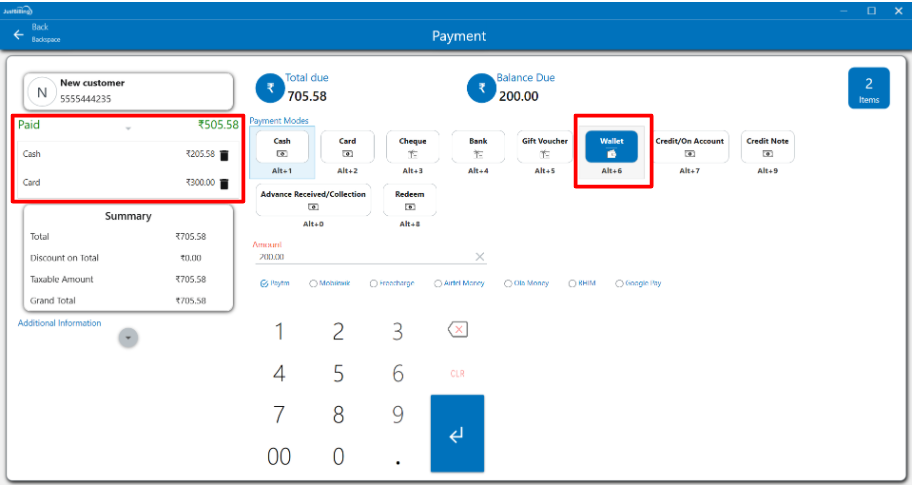
(Figure 2 - Payment screen)
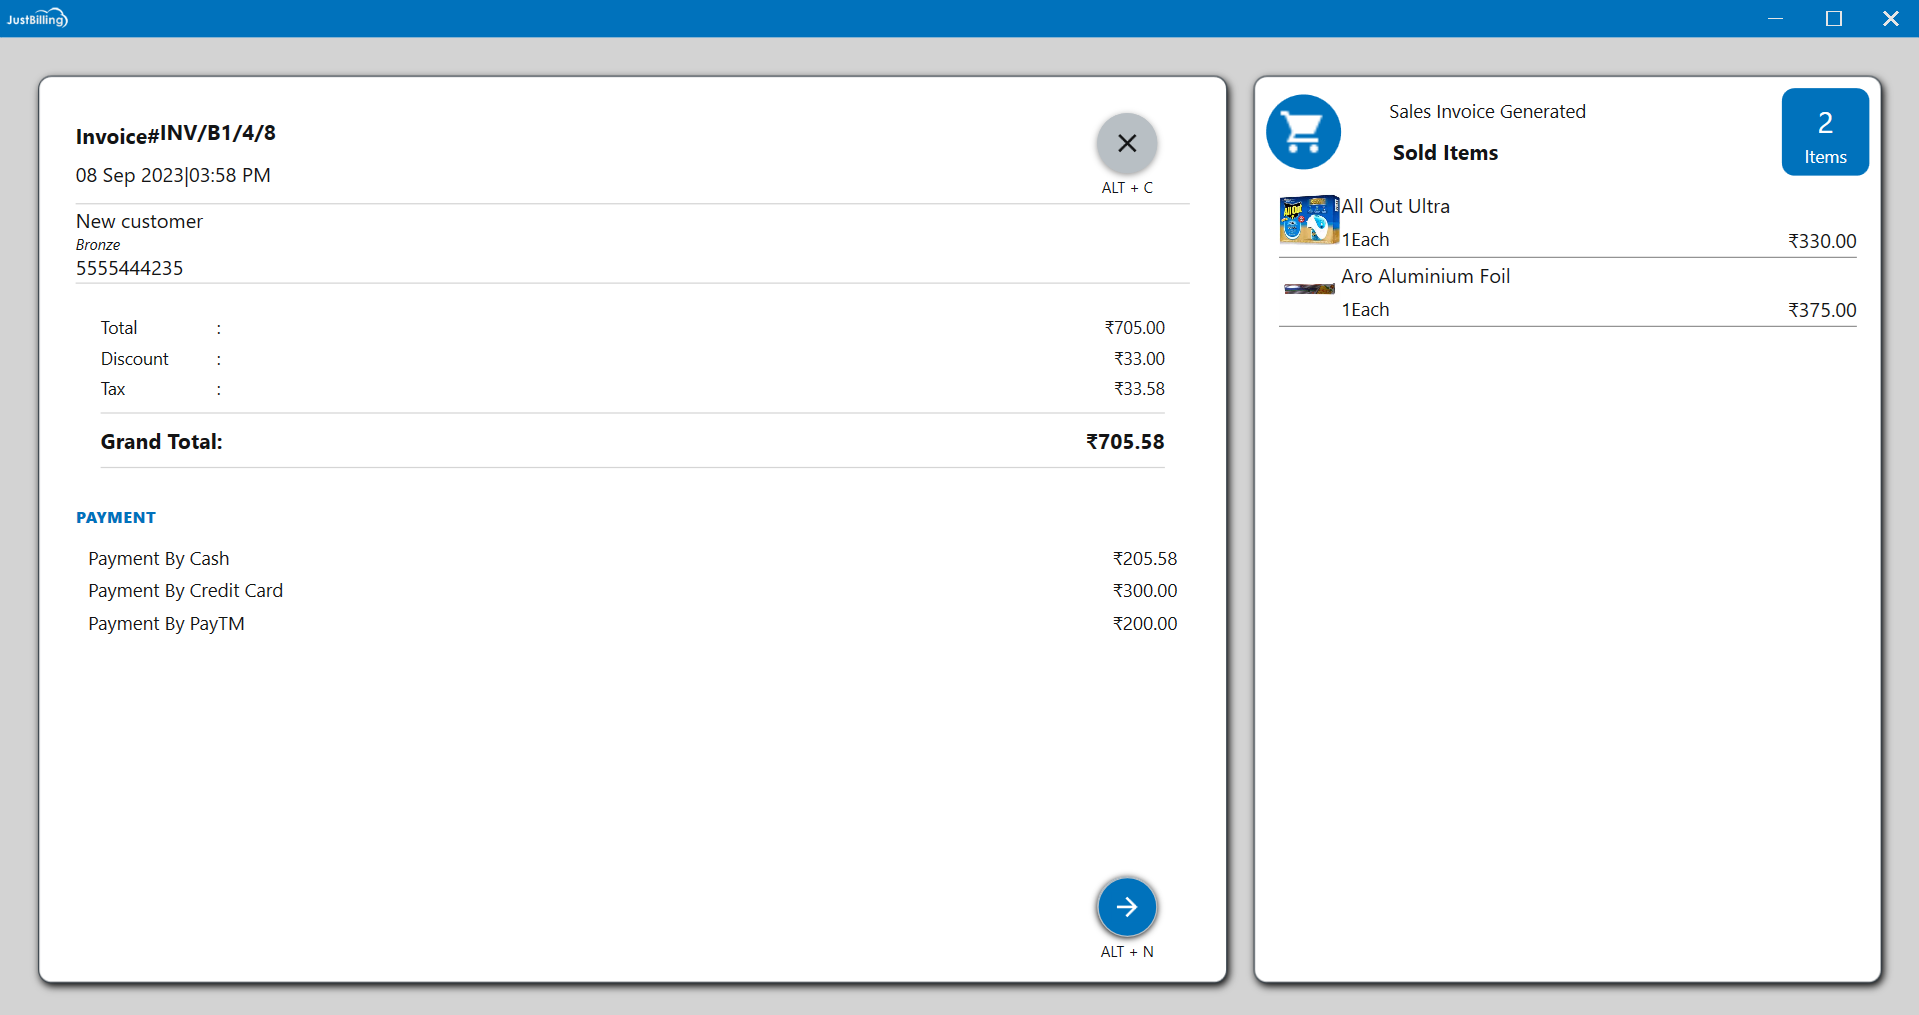
(Figure 3 - Invoice created)
Note : Detailed Explanation of Billing screen and Payment Modes are available in Billing screen and Payment pages respectively