Dine-in
Dine in
From this page, you can create a new Dine in order. (see figure 1).
On Opening Dine in page it will take you to table selection screen.
Note: Tables will be created from Menu > Masters > Tables
How to create a new Dine in order ?
- Navigate to Menu > Transaction > Dine in
- It will take you to Table selection
- Select the Table
- Select the items for the dine in order
- Click on proceed and add additional information and select next order.
(Figure 1 - Dine in page)
To assign a Dine-In order, first navigate to the Table Management screen. From the available table layout, select the table where you wish to assign the order. This step links the customer's order to the chosen table, allowing for tracking, billing, and table status management throughout the dining experience. (see figure 2)

(Figure 2 - select table)
After selecting the desired table, the Table Availability screen will automatically close, and you will be redirected to the Products pane. From here, you can begin placing the Dine-In order by selecting the required products from the available list. Simply browse through the categories or use the search function to find items, and tap on each product to add it to the table's order. Click on proceed to place the dine in order. (see figure 3)
(Figure 3 - Add products to table)
Once you have selected all the required products for the Dine-In order, click on the Proceed button. you will be directed to checkout screen, here select the customer and proceed.(see figure 4)

(Figure 4 - Add instructions to table)
After selecting customer, the system will create a Table Order for the selected items. (see figure 5)
(Figure 5 - Customer selection)
(Figure 6 - Dine in created screen)
How to create invoice for dine in order?
Click on the occupied table and select the recall option.(see figure 7)
Add items if needed and click on the Payment option
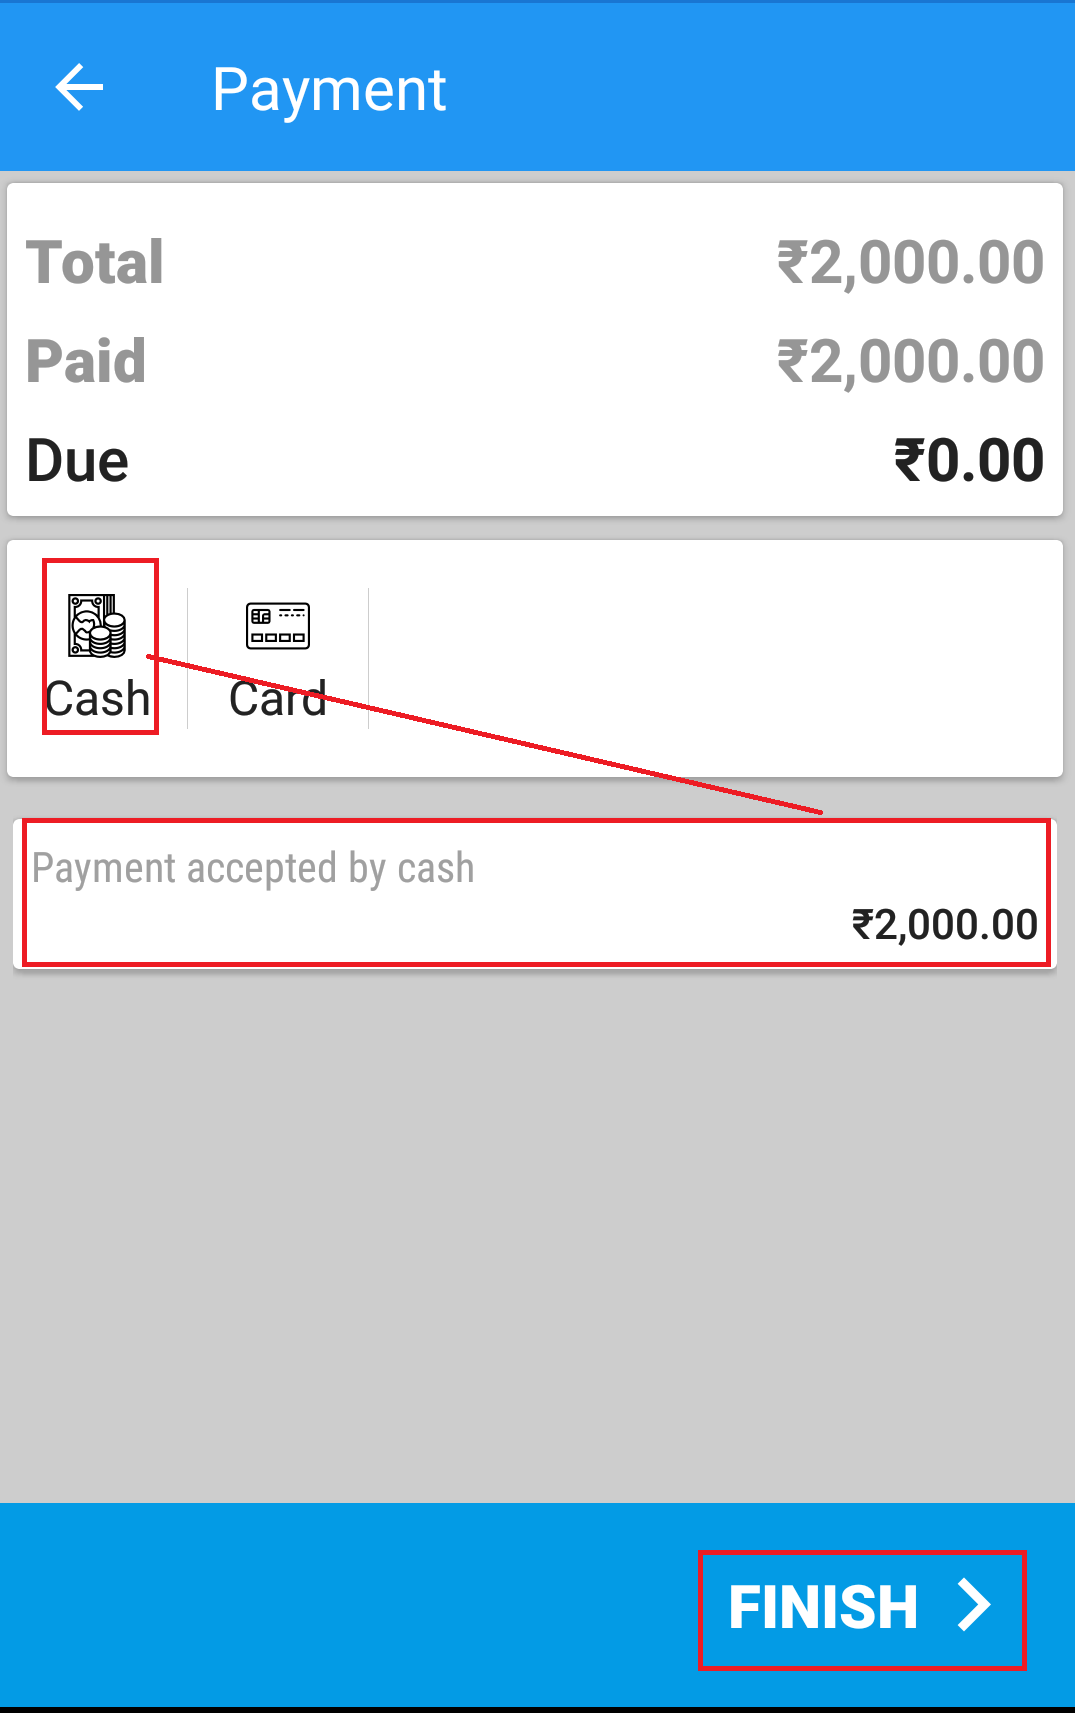
Select mode of payment and generate invoice.
(Figure 7 - Recall order screen)
(Figure 8 - Proceed to checkout)
(Figure 9 - Proceed to Payment)
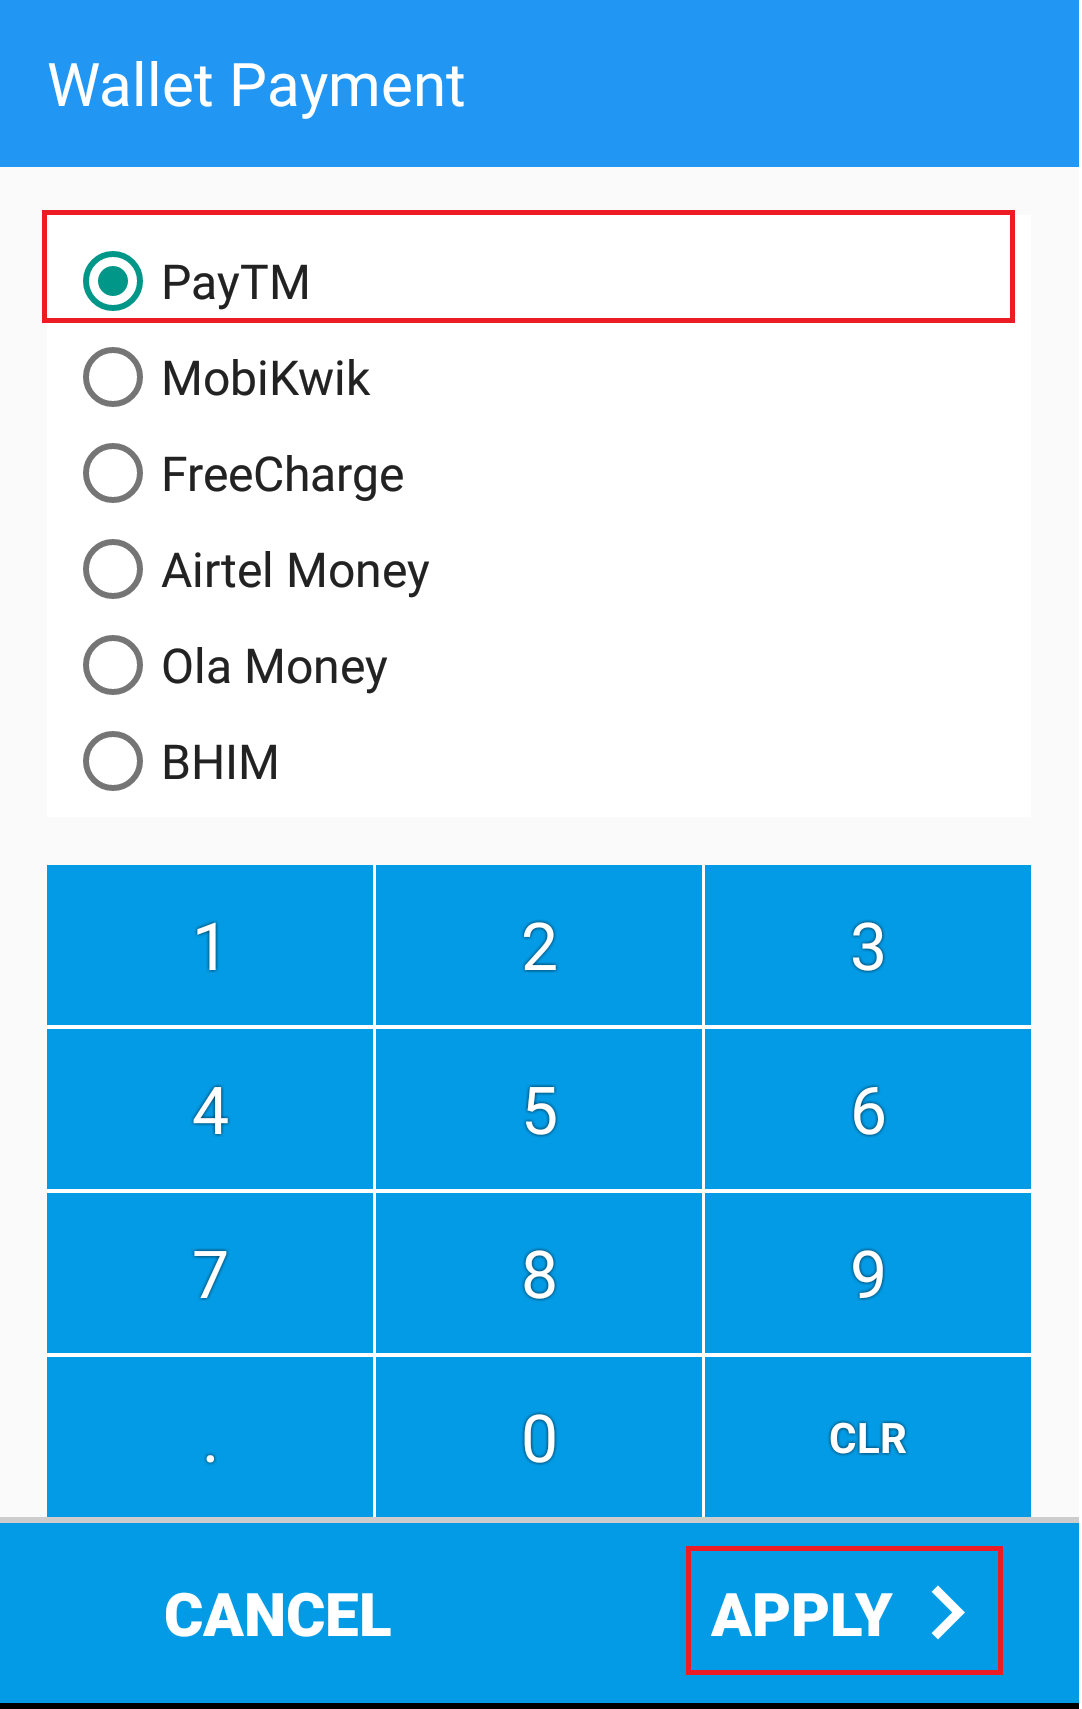
(Figure 10 - Payment mode selection Screen)
(Figure 11 - Payment Collection Screen)
(Figure 12 - Invoice created Screen)