Purchases
Purchases
Purchases
Purchase is necessary for any type of store or multi branch stores, even if goods purchase in bulk is mainly managed from the back office and through the Goods Received feature. Some goods can be specific to a branch and in that case purchase can be made locally by that branch, which can then be maintained through Purchase Invoice which is available in Android.
From this Screen you can view Purchases history, filter Purchases, sort Purchases and also to create Purchase Invoices.
Purchase Invoice can be created in two ways from Just Billing Application.
Option 1 : One way is to create purchase invoice directly from Purchase option that is available in the Dashboard where it will take you to Purchases page where you can create an purchase invoice. (see figure 1)
Option 2 : Other way is From Menu and Transactions and Navigate to Purchases page click on Add button it will take you to Purchases page where you can create an Purchase invoice. (see figure 2)
Once you arrive at Purchase Billing screen page then we will show you how to create an Purchase invoice.
(Figure 1 - Purchase Invoice Icon in Dashboard Screen)
(Figure 2 - Purchase Invoice Icon in Dashboard Screen)
From this screen you can create purchase invoice for the various goods that are purchased from your suppliers locally.
- How to create an Purchase Invoice?
To generate a Purchase invoice , navigate to Menu  icon from top left > Transaction > Purchases > Click on
- Tap on Purchases
- Select Purchase invoice date and Receiving date
- Select Purchase type
- Select the supplier from the list of suppliers. (see figure 3)
- Enter Reference invoice number if any
- Select the product from the list of products that are supplied from specific supplier and add them in to cart.
- Enter the quantity of that product received against the Quantity field. (see figure 4)
- Add Discount and Tax, if there are any.
- Proceed for Payment method. (see figure 5)
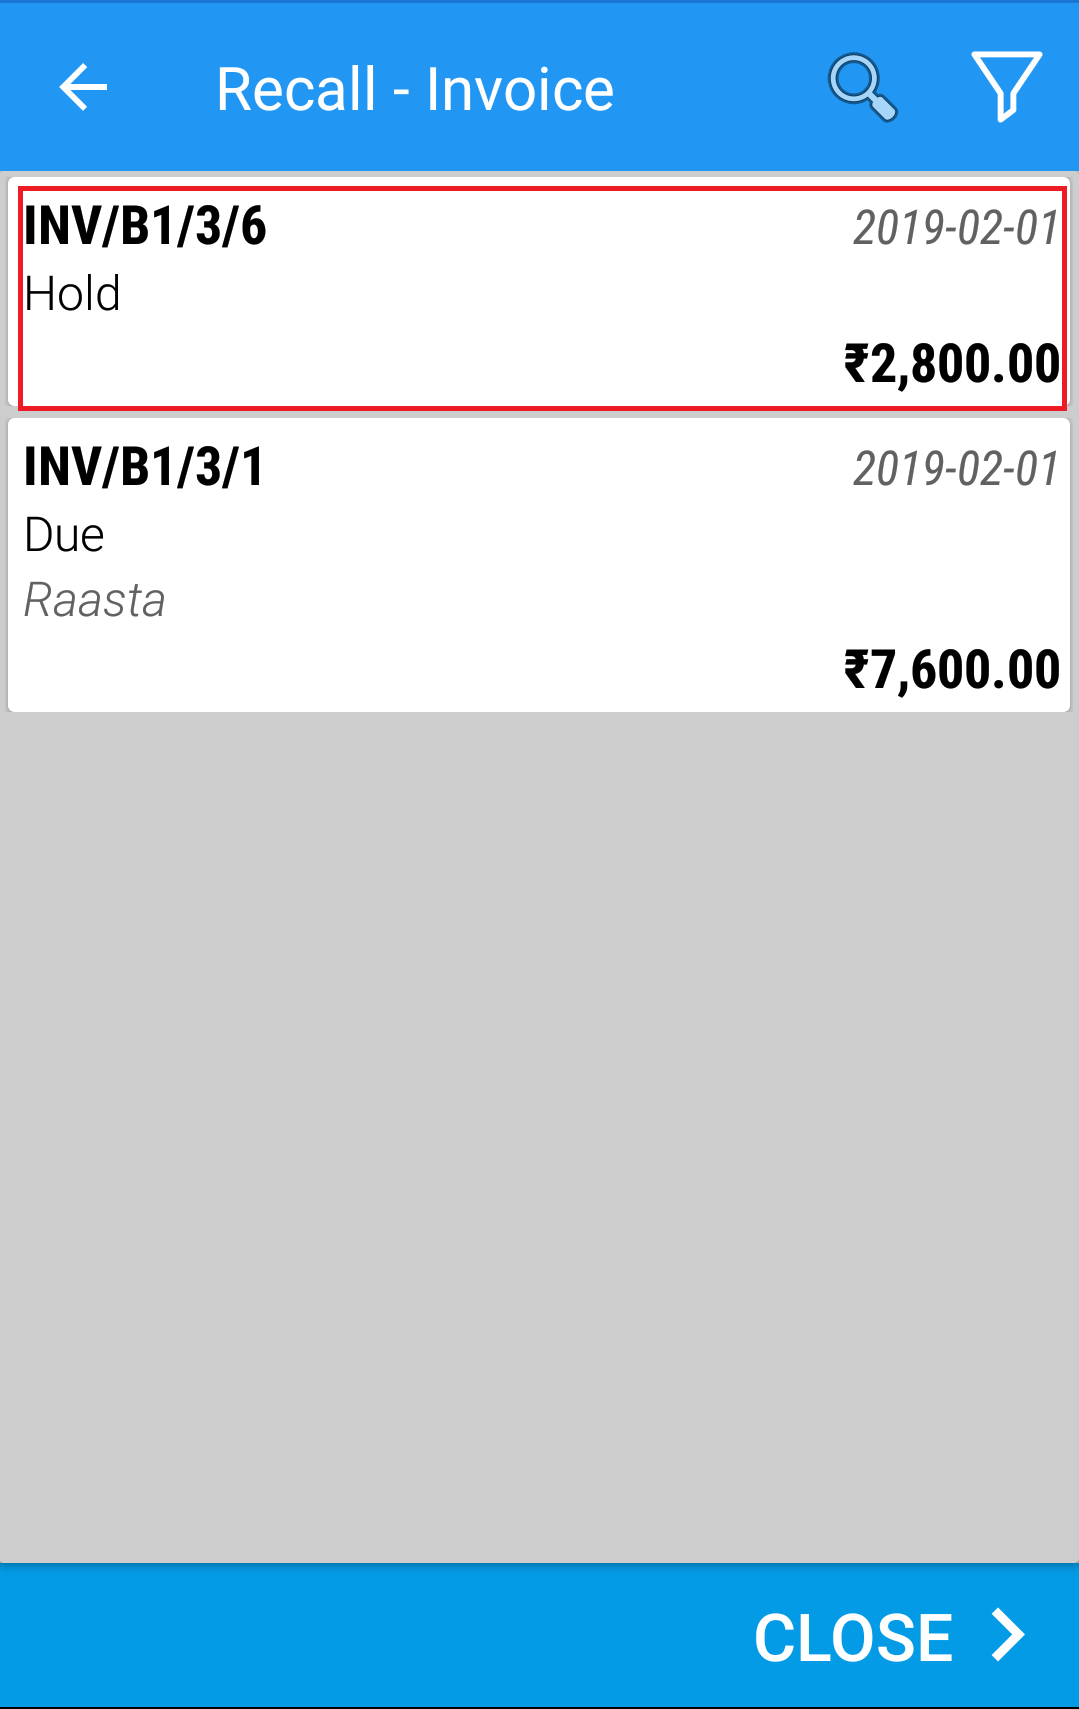
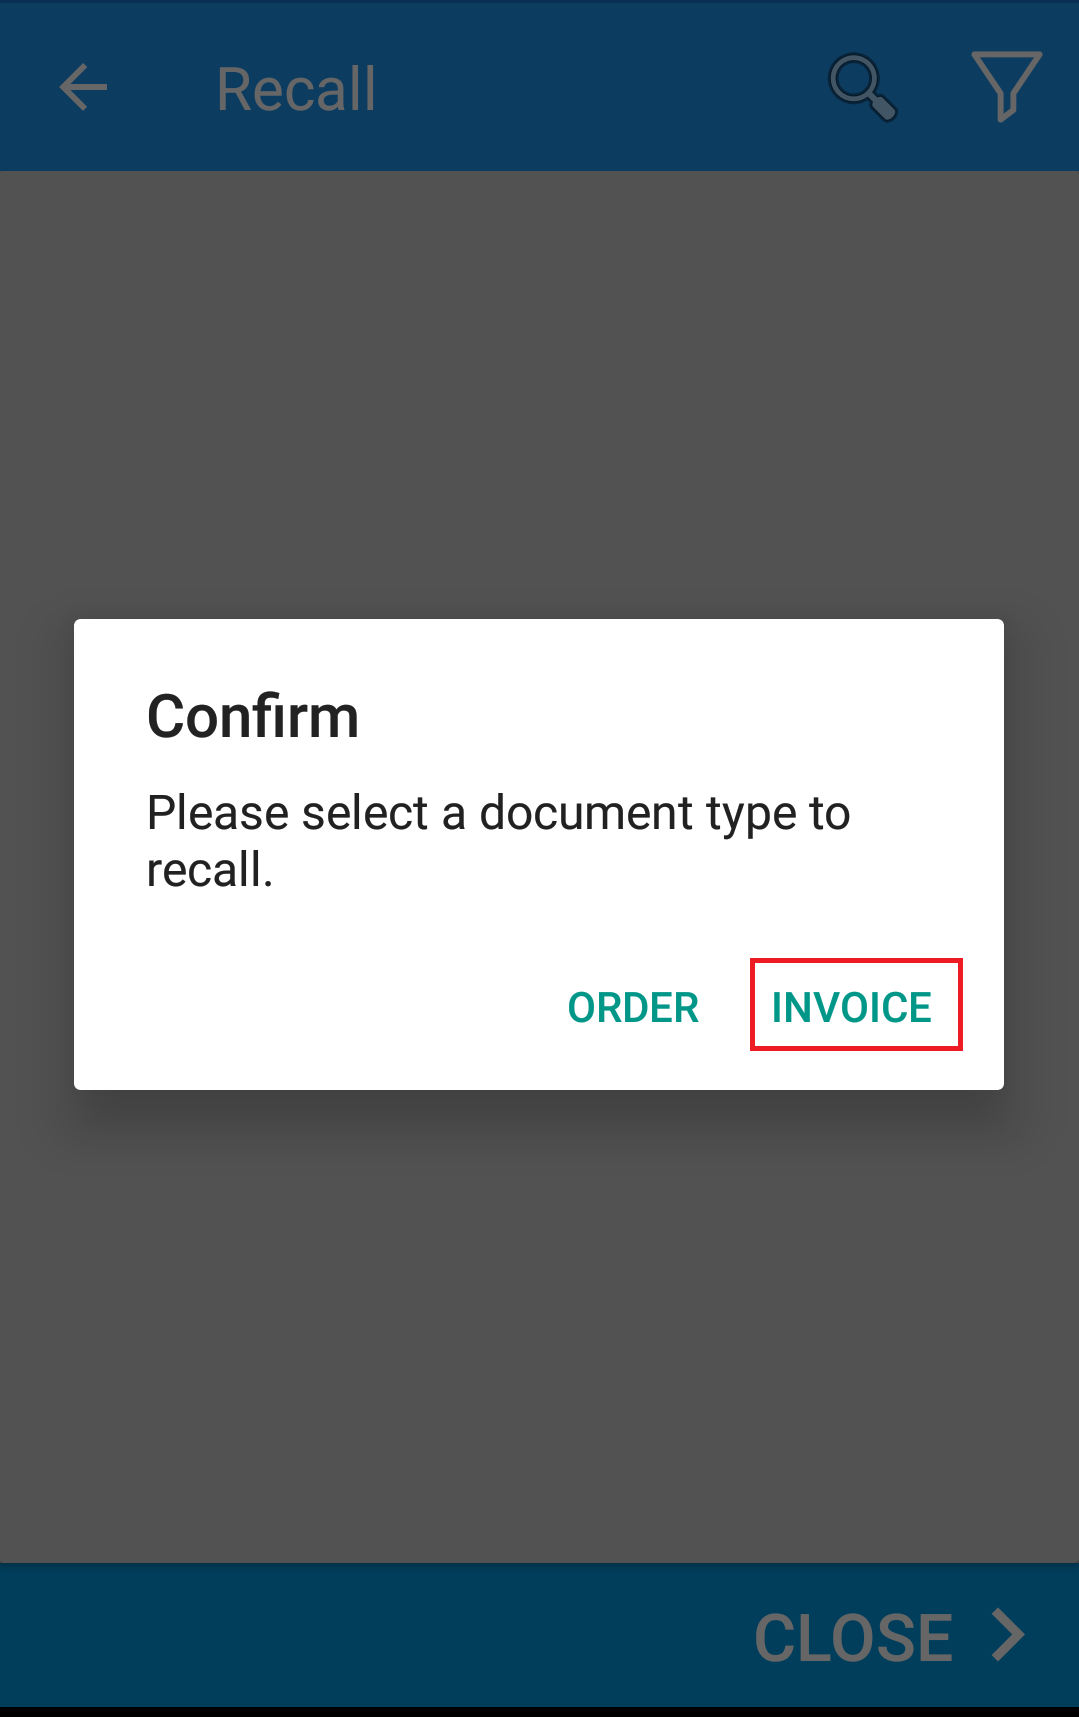
- Tap on Proceed and Finish to generate purchase invoice. ( It is possible to create Purchase invoice against due payment with the supplier ) (see figure 6)
- If there is more than one product in the purchase order, you need to follow the above three steps in order to add the other products to the list.
Note : To create any purchase invoice it is mandatory that the product must be marked as Purchase Item and also mapped to specific supplier.
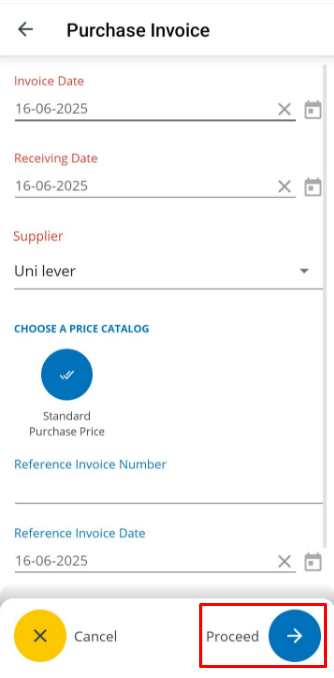
(Figure 3 - New Purchase Invoice Screen)
(Figure 4 - New Purchase Invoice Screen)
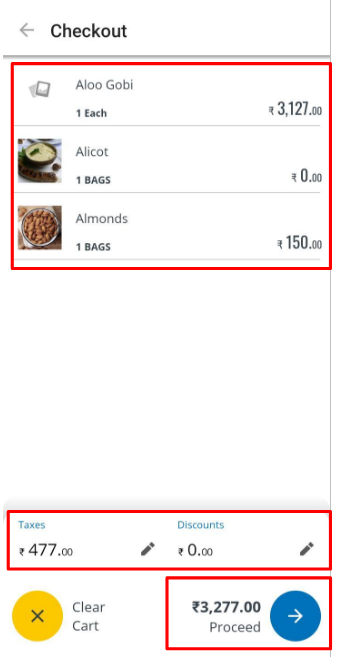
(Figure 5 - checkout items Screen)

(Figure 6 - Purchase Payment Screen)
(Figure 6 - Purchase Invoice created Screen)