Sales Return and Exchange
Return
Return (Refund/exchange) process in Just billing.
- What is Return?
- Difference between Refund & Exchange.
- Conditions of Return.
- Steps for return and refund process in JB Windows.
Return
For obvious reasons, most stores focus on practicing good customer service specifically to enhance sales. But customer service doesn't end once a purchase is made. Or at least it shouldn't. As long as products are being sold, there will always be some returns. And, for many sellers, the process of handling product returns has been mostly on an ad hoc basis. However, many successful business organizations have realized that an effective product returns strategy can provide a number of benefits, such as improved customer service and customer knowledge, effective inventory management, and product dis-positioning.
- Refund: In Refund, an amount of money is given back to the customer, especially if they are not happy with the product. Refund processes are often governed by store level policies.
- Exchange: In exchange, store allows customers to return the item that they had purchased previously and buy another item in exchange.
To initiate a Return process, click on the Sales Return button in Transactions from side menu (see figure 1).
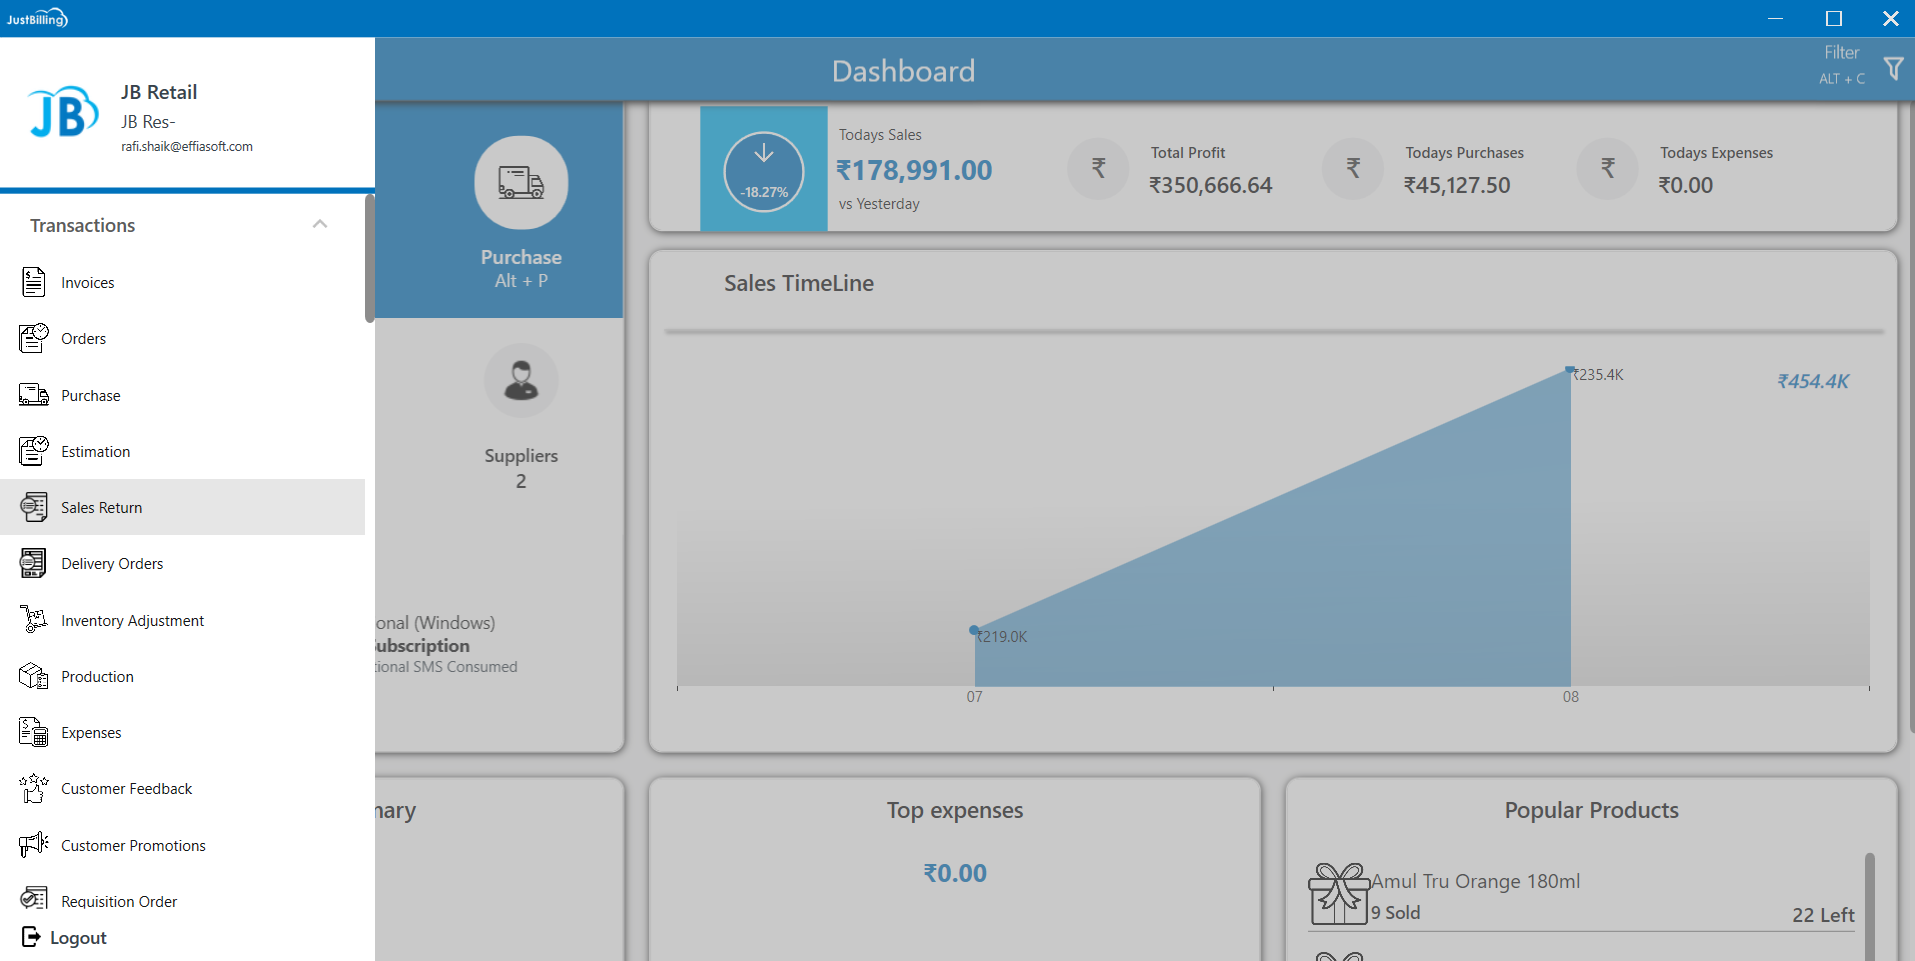
(Figure 1 - sales return)
After selecting sales return page, a list of sales returns and exchanges made are shown on the screen, click on the New button  or Enter ALT+N to create the New Sales Return or Exchange for the sold items. Refund or Exchange as shown in the below screen (see figure 2&3).
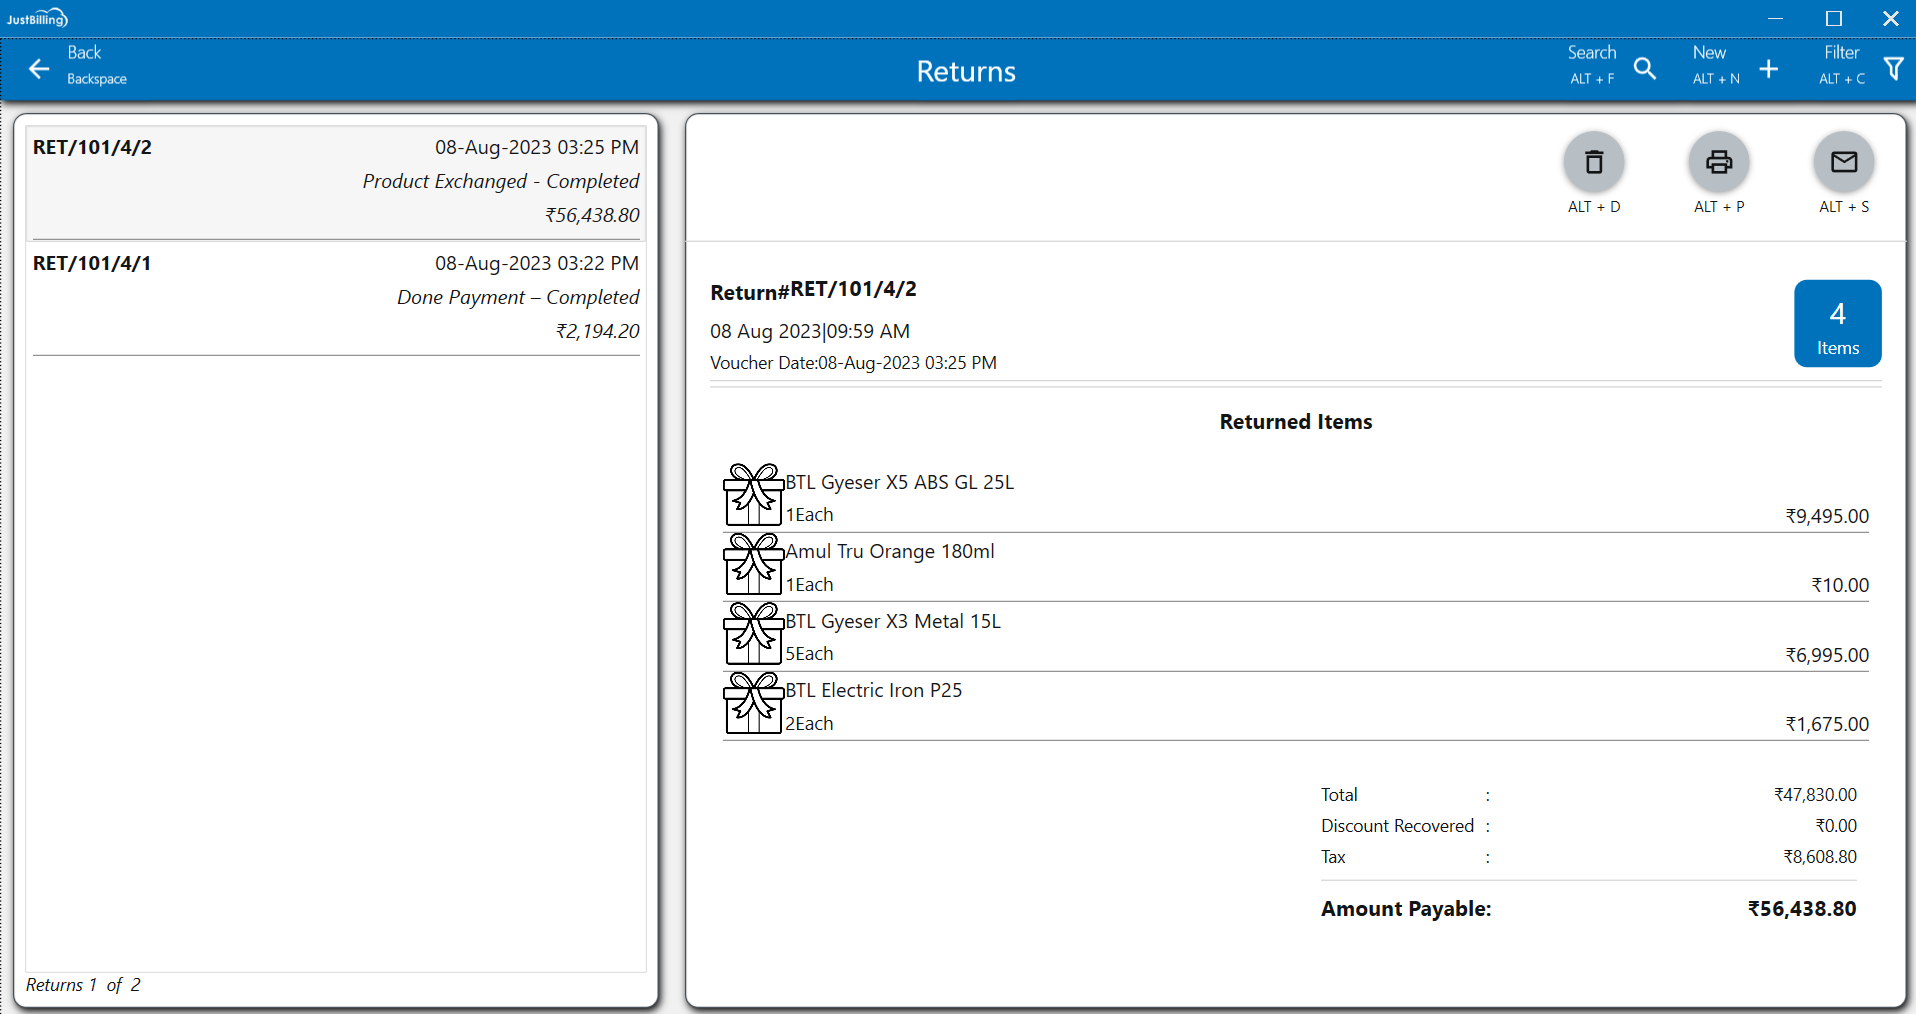
(Figure 2 - List of returns and exchanges)
After selecting New button, a popup is shown with history of invoices made, select the Invoice or search the Invoice by Invoice number as shown in below figure.
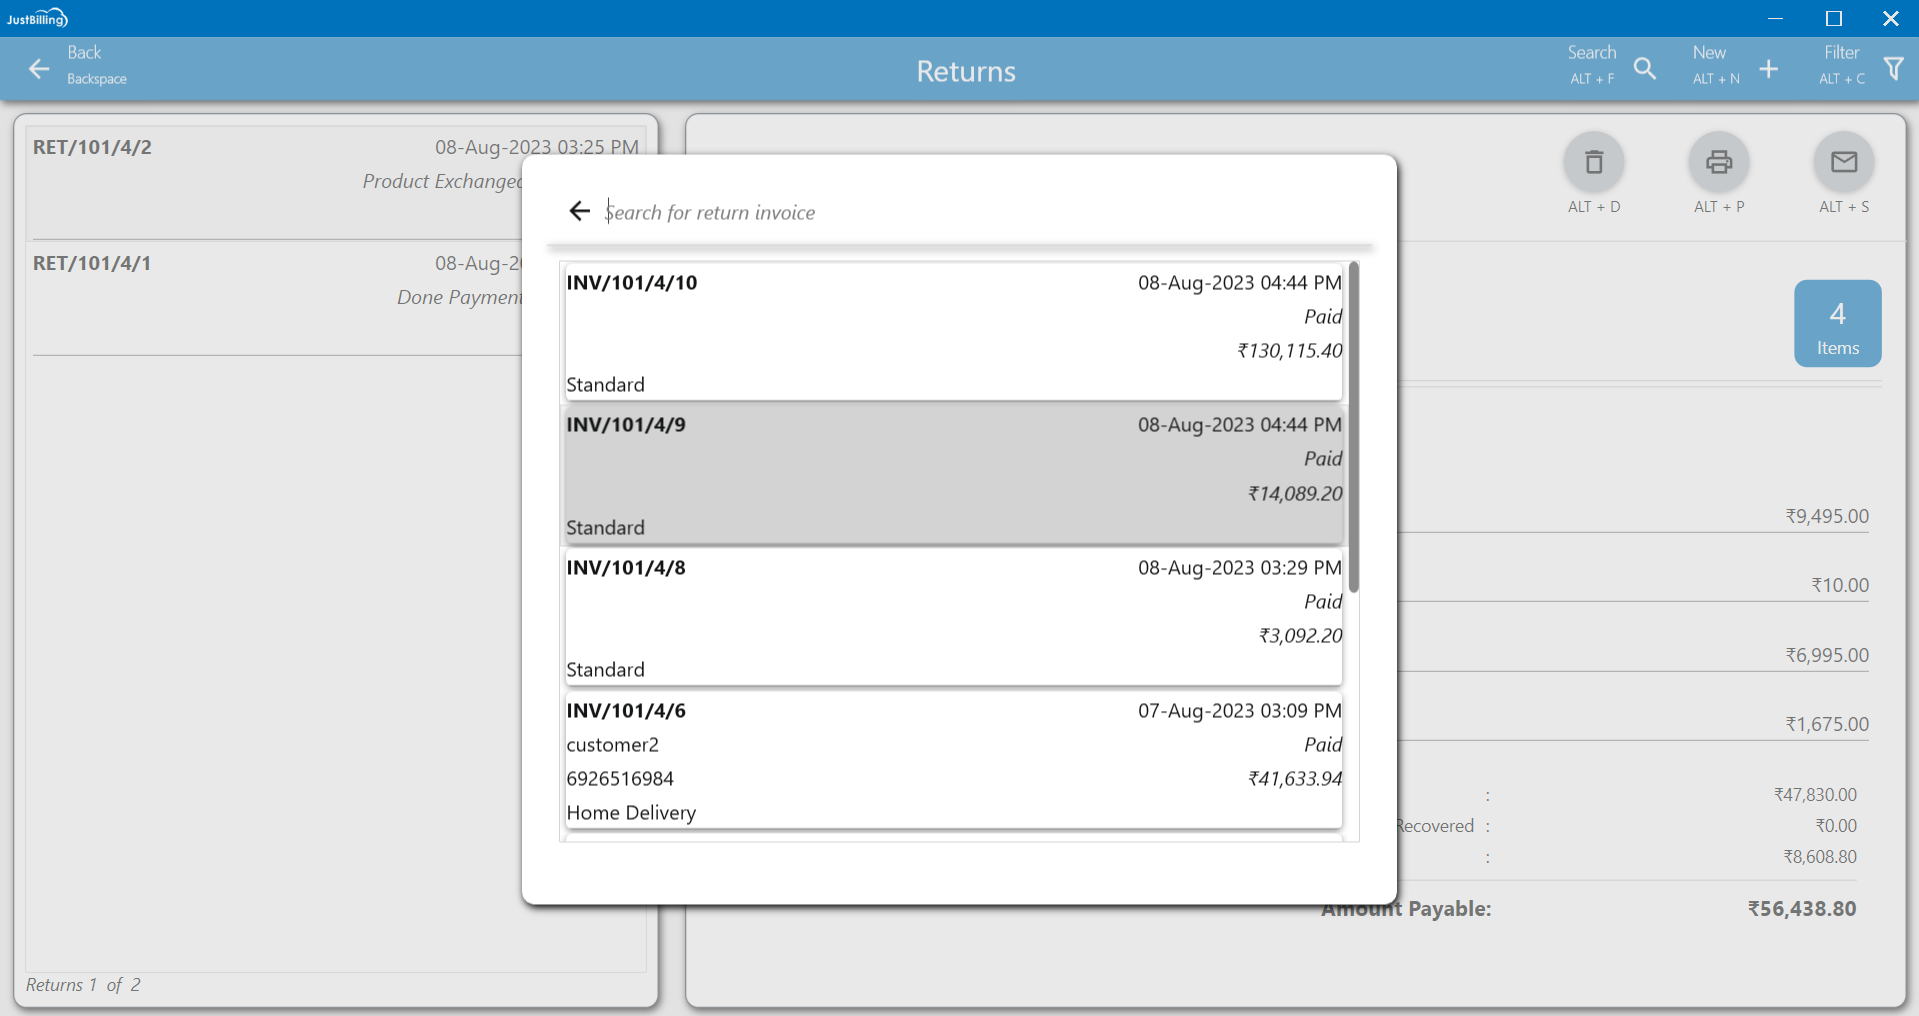
(Figure 3 - Selecting Invoice for return or exchange)
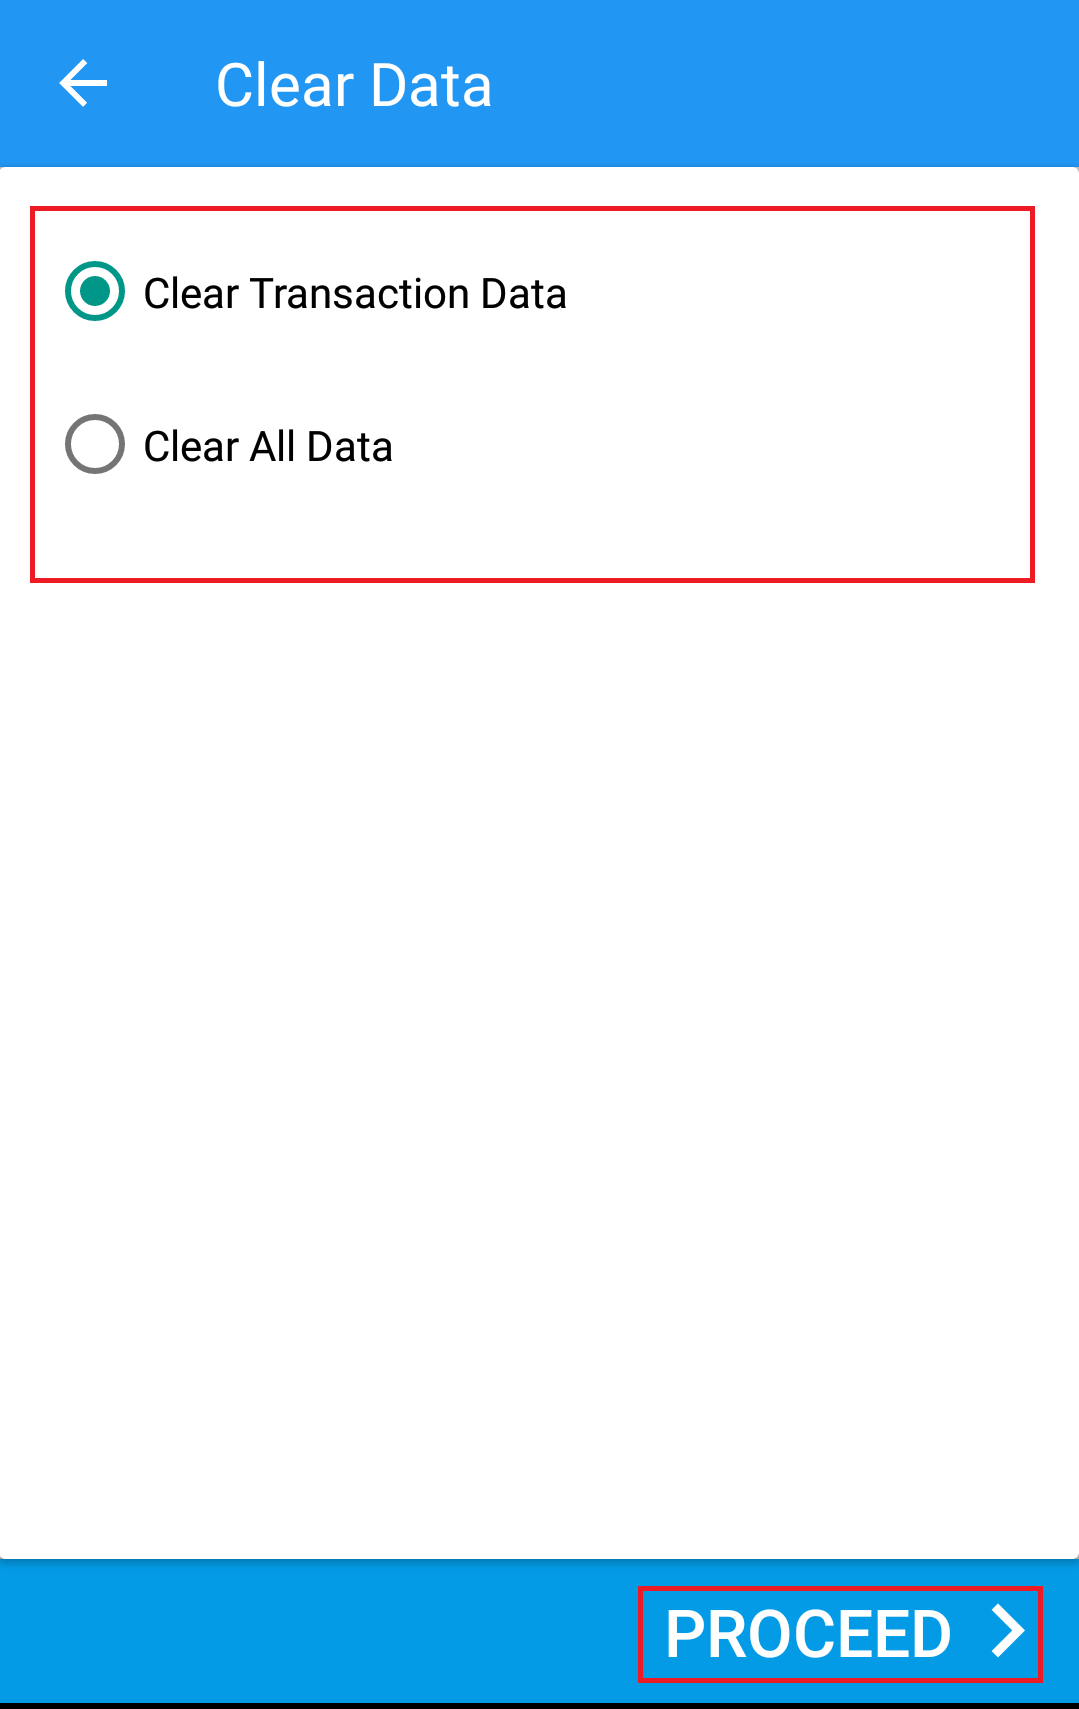
After selecting the Invoice, the returns screen with the sold items will be shown on the screen, select the items that are to be returned or exchanged.
Return: Select the items to be returned from customer and click on Return button as shown in below figure 4.
- Refund: Let's say user clicks on the “Refund” button ; system will prompt the user to confirm the refund amount.
Note: In JB Windows Refund Amount should be less than or equal to Invoice Amount/Paid Amount.
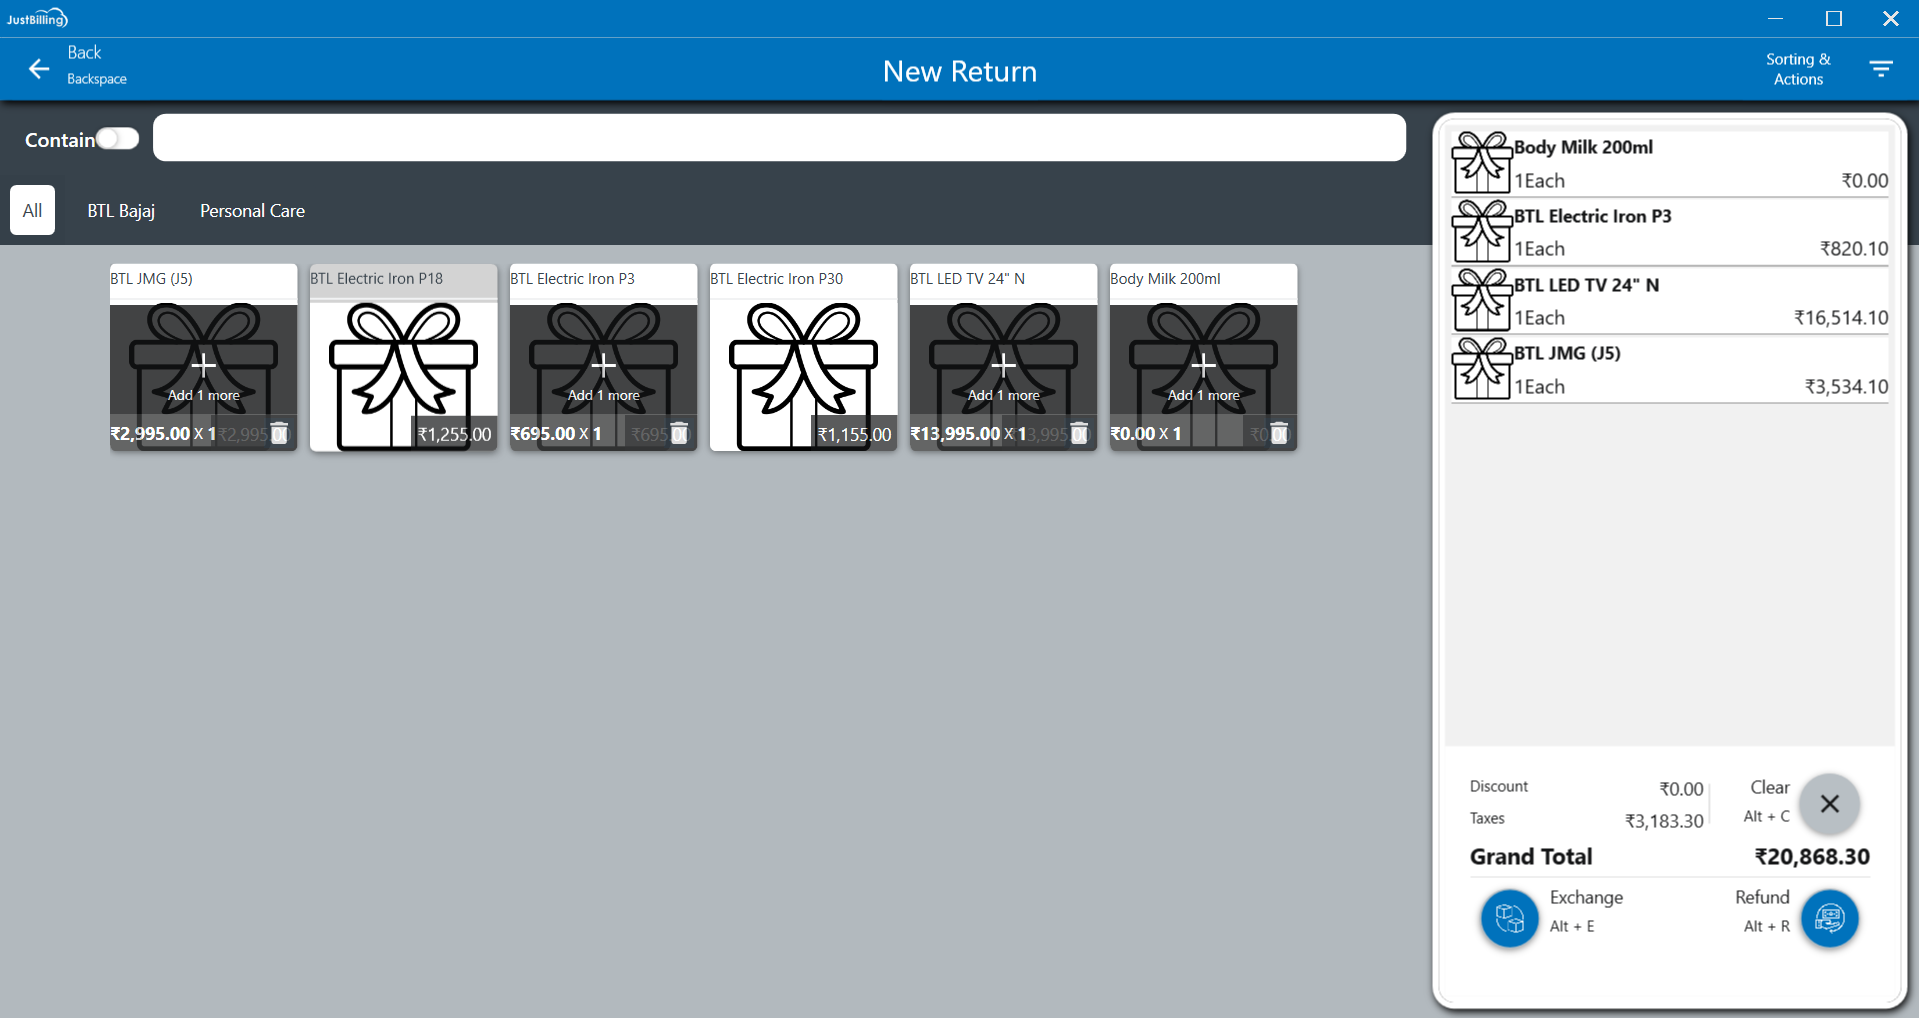
(Figure 4 - Sales Returns screen)
After clicking on the Refund button, a pop-up is shown with the discount recovered, invoice amount and refund amount fields as shown in (Figure 5 - Edit discount recovered)
Validate/edit the discount recovered amount and click Cash button or enter ALT+C to refund the amount to the customer by cash.
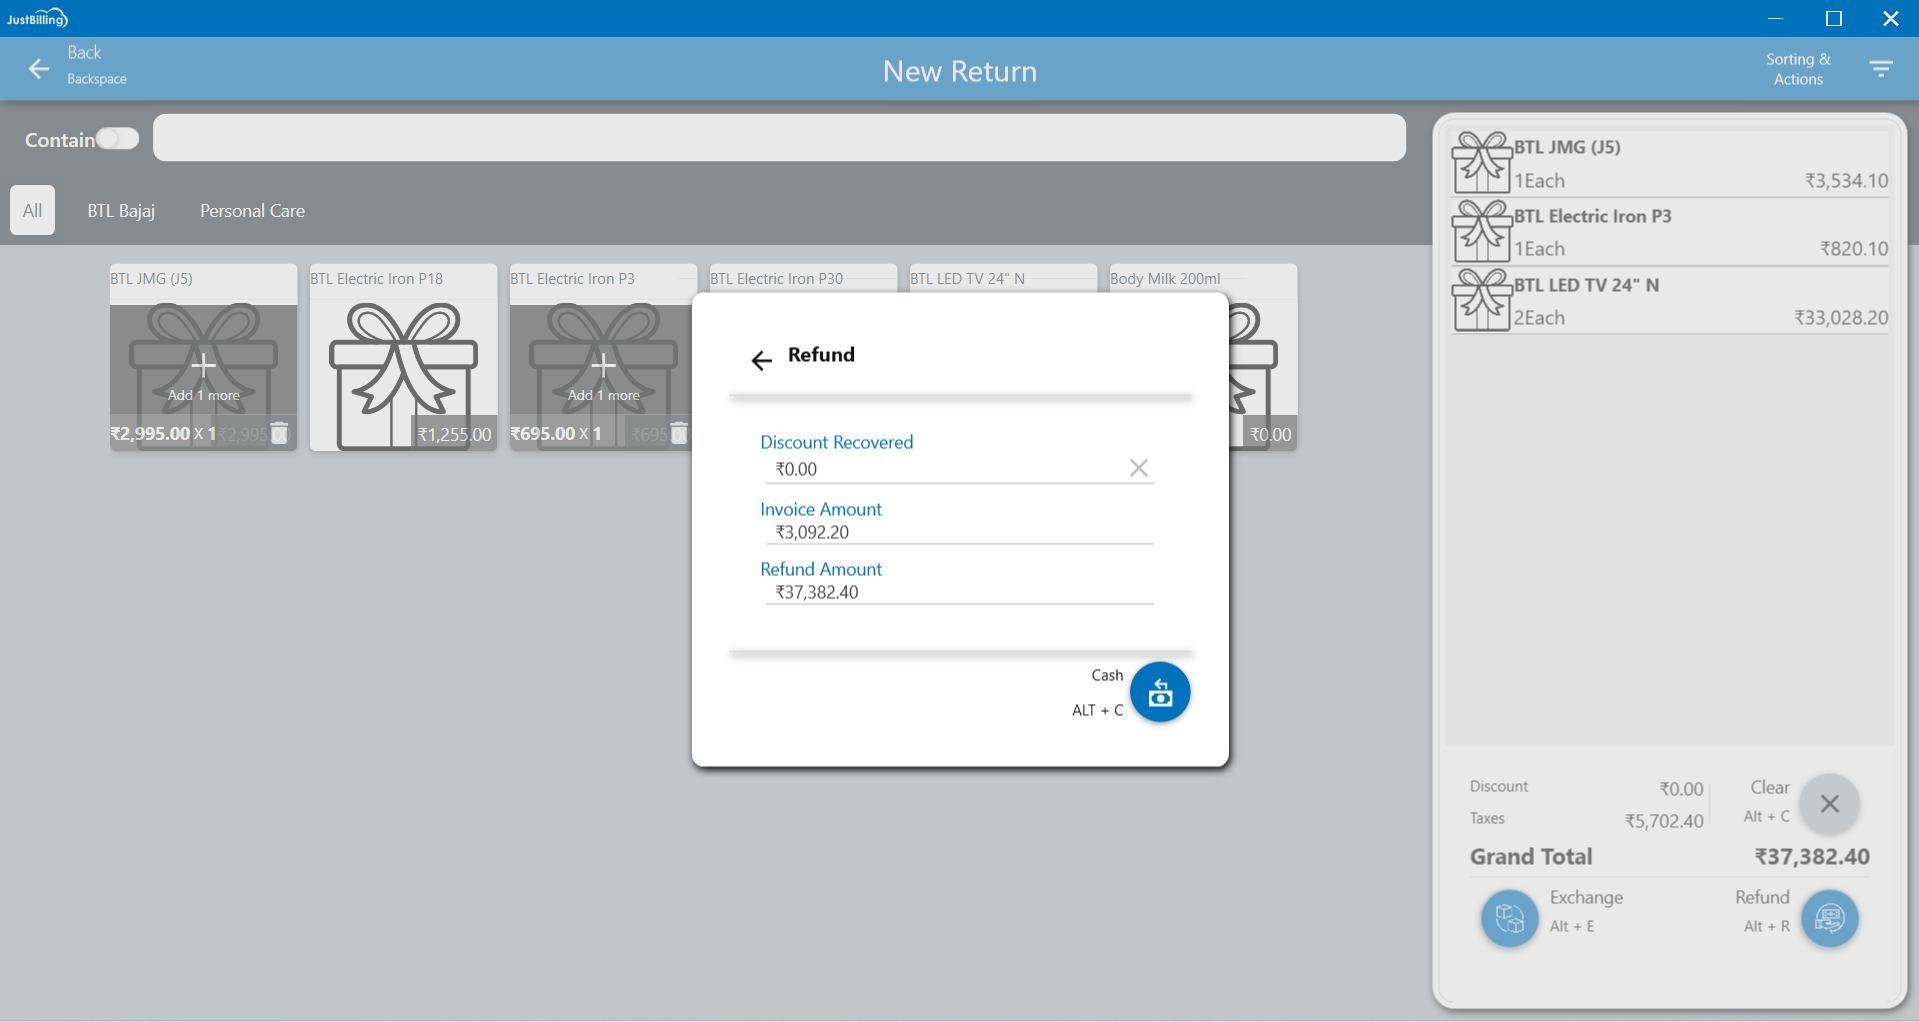
(Figure 5 - Edit discount recovered)
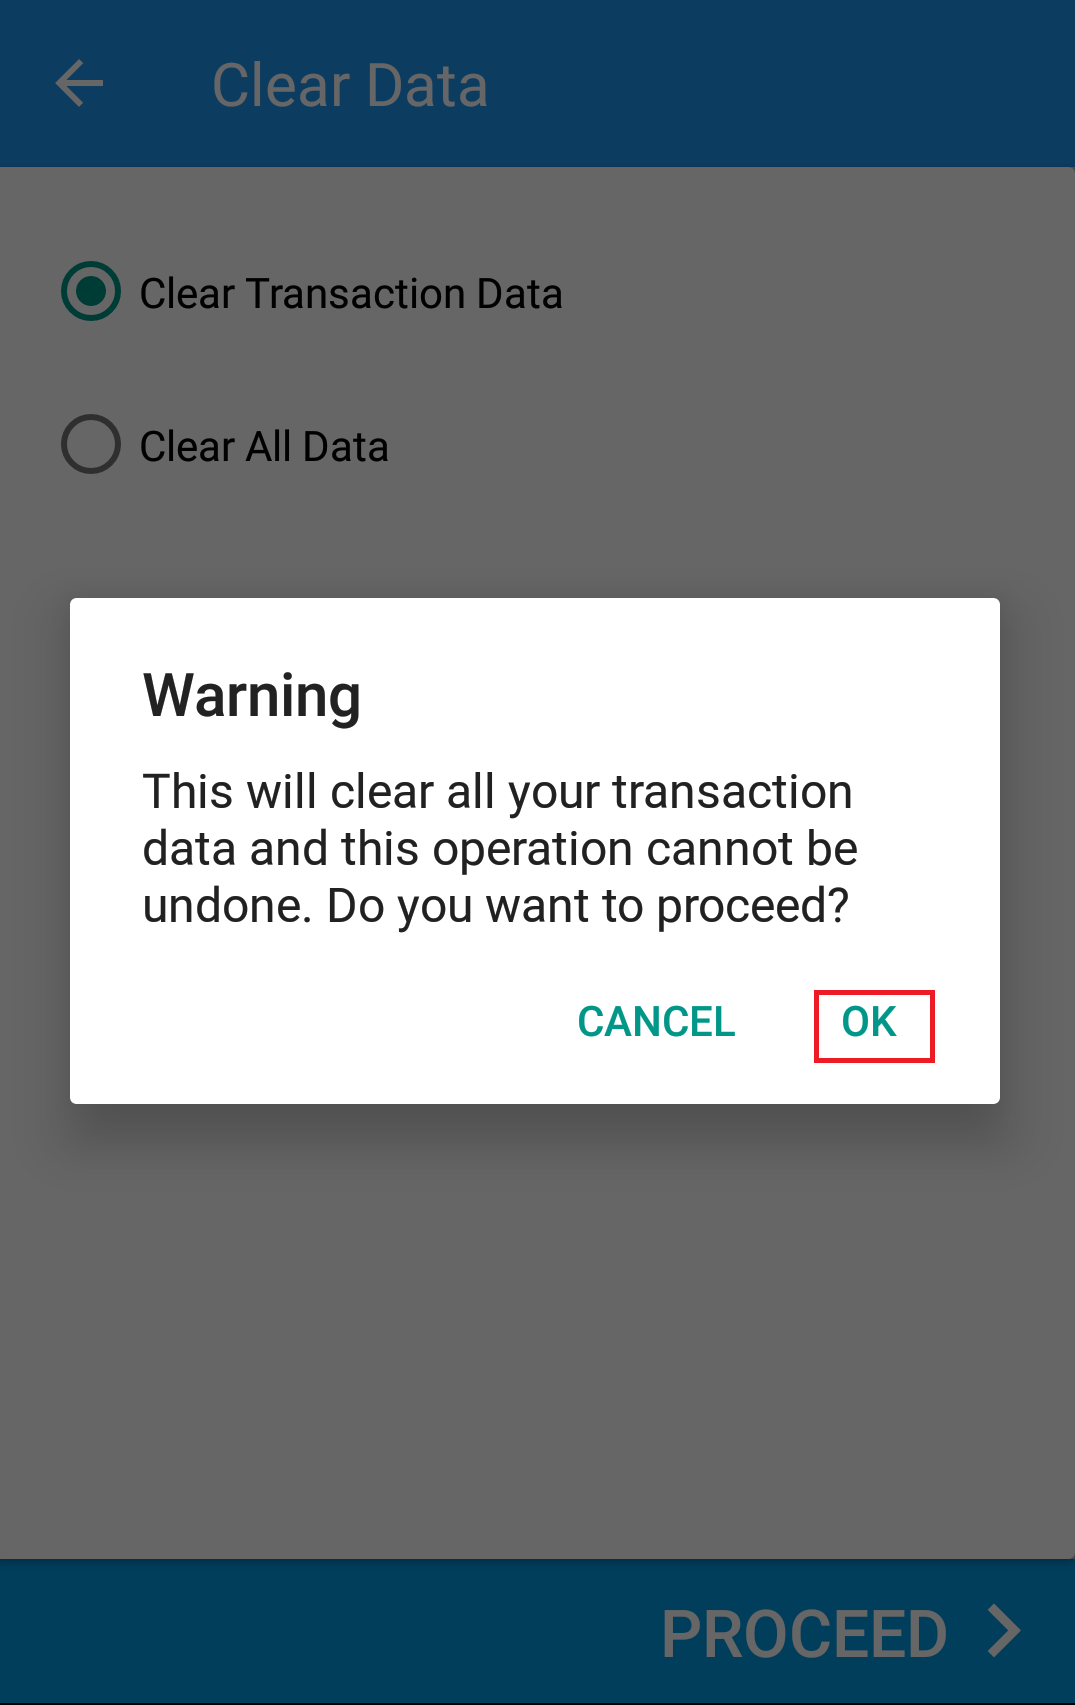
After clicking on Cash button, a confirmation popup of amount refunded to customer is displayed on screen as shown in (Figure 6 - refund amount).
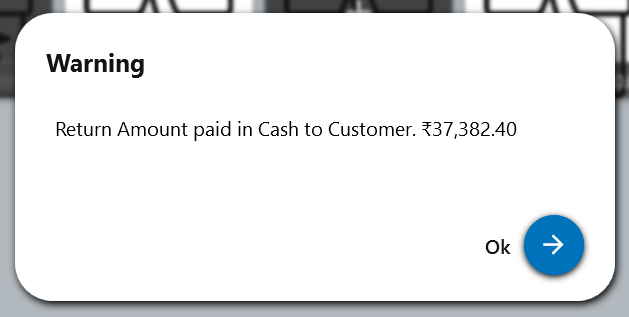
(Figure 6 - refund amount)
After clicking on 'OK', the Return item details will be displayed on the screen as shown in below (Figure 7 - refund item details)
Click on Next button to view the list of returned or exchanged items.
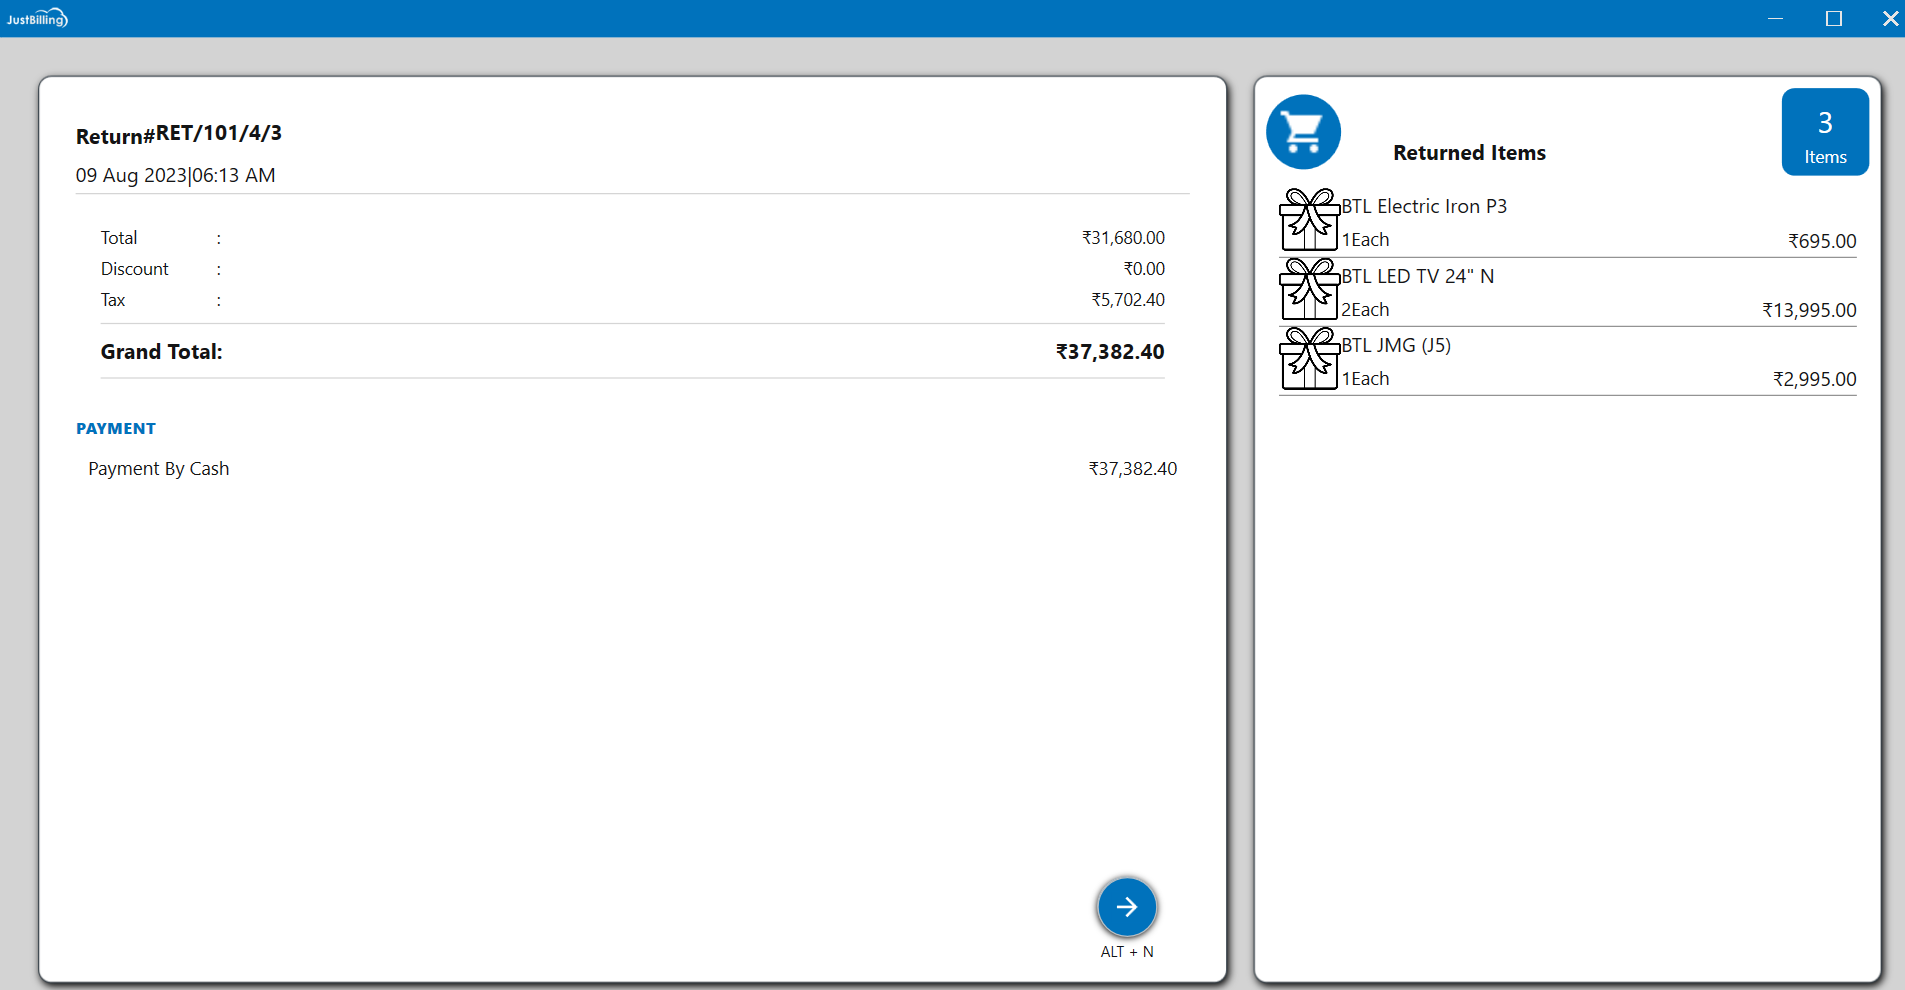
(Figure 7 - refund item details)
- Exchange: If customer wants to exchange the product, select the items to be exchanged and click on Exchange button or enter ALT+E as shown in below (Figure 7 - Exchange process).

(Figure 7 - Exchange process)
Clicking on the “Exchange” button will display the popup to enter the Discount recovered amount, if applicable enter the discount amount and click on proceed or enter ALT+P to select the items for exchange as shown in (Figure 8 - Exchange amount).

(Figure 8 - Exchange amount)
By clicking on proceed, you will be redirected to select the items for exchange and click on proceed button or enter ALT+P as shown in below (Figure 9 - Select Exchange items ).
For exchange, customer can select identical product/different product depending upon their choice but Exchange Amount should be greater than or equal to Invoice Amount /Paid Amount. Only then, you will be redirected to billing screen.
(Figure 9 - Select Exchange items )
After clicking proceed button, you will be redirected to billing screen. Here displays the extra amount to be paid after selecting the exchange items as shown in below (Figure 9 -Payment screen ).
Proceed with the mode of payment and click enter.
(Figure 9 -Payment screen )
After clicking enter, Invoice is generated and you will be redirected to invoice screen, click on Next button to view the list of exchange and return items.
Note: On successful completion of the Return process using Refund or Exchange method, inventory of item will be updated accordingly. For example: Say, customer buys a product called ‘bread’. Later he exchanges it with “milk”. After the transaction is completed inventory/stock of bread will be increased by the return quantity and stock of milk will be reduced by sold quantity.