Pine labs
Pine Labs Integration
The Pine Labs Integration enables JustBilling to connect with Pine Labs card-swiping/POS terminals to accept card payments seamlessly. After configuration, card transactions can be processed directly through the connected Pine Labs terminal.
This guide explains how to enable Pine Labs, configure merchant details, add terminals, and save the setup.
Accessing Pine Labs Integration
- Navigate to Menu → Integrations.
- Select the Pine Labs tile.
- Click Manage to open the configuration page.
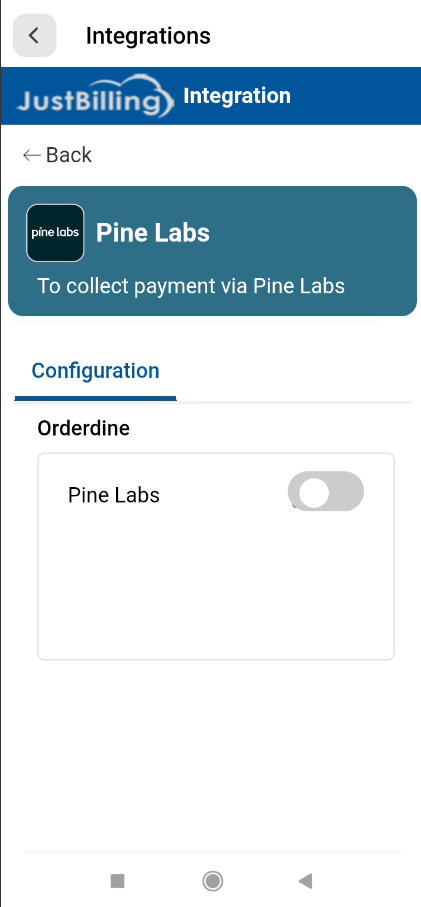
(Figure-1- Pinelabs Configuration)
Enabling Pine Labs
At the top-left corner, a toggle switch is displayed.
- Toggle OFF → Integration is disabled
- Toggle ON → Pine Labs configuration settings are displayed
Enabling Pine Labs activates the fields required for API and terminal configuration.
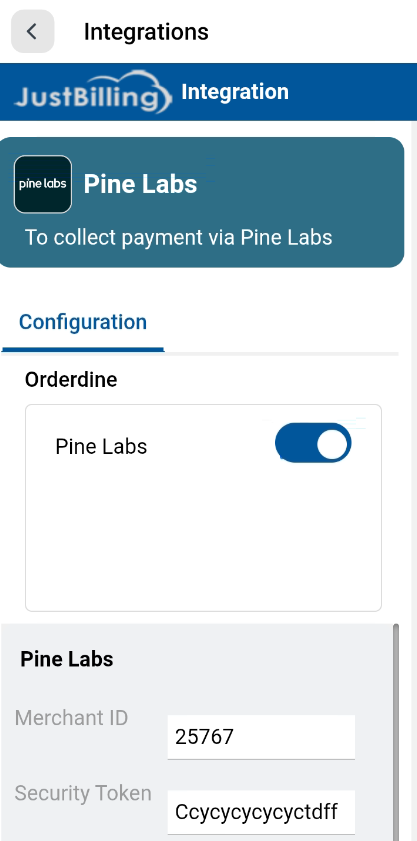
(Figure-2- Pinelabs Configuration)
Pine Labs Configuration Fields
Once the toggle is turned ON, the following fields appear:
Merchant ID
Unique merchant code provided by Pine Labs.
Must match the merchant account used for the Pine Labs terminal.
Security Token
Used for authentication between JustBilling and Pine Labs API.
A secure token provided during your Pine Labs onboarding.
Must be kept confidential.
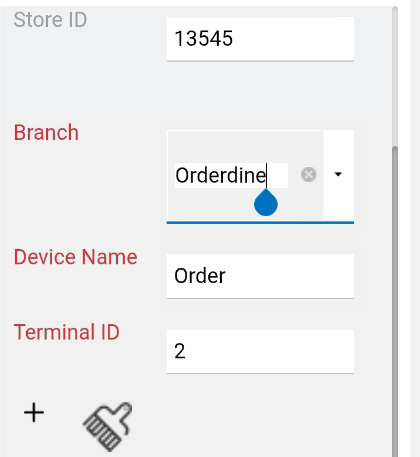
Store ID
Identifies your specific store location registered with Pine Labs.
Required for routing card payment transactions.
Adding Terminal Details
To process card payments, each store terminal must be configured.
Branch
Select the branch where the terminal/device is installed.
Terminal ID
A unique terminal identifier provided by Pine Labs.
Used for mapping the physical card-swiping machine to your POS system.
Device Name
- A friendly/recognizable name for the terminal.
Example: - Cash Counter 1
- Central Kitchen
- Billing Terminal 2
Add Terminal
- After entering branch, terminal ID, and device name:
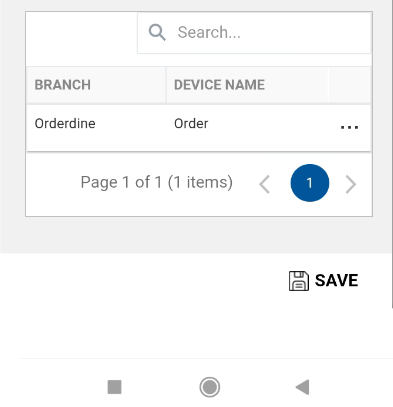
- Click “+” to add the terminal to the list.
- The terminal will appear in the table below with Edit and Delete actions.
Saving the Configuration
After completing all fields:
- Click the Save button at the bottom-right corner.
- A popup message confirms successful configuration:
✔ “Saved successfully”
This means Pine Labs integration is now active and ready for card transactions.
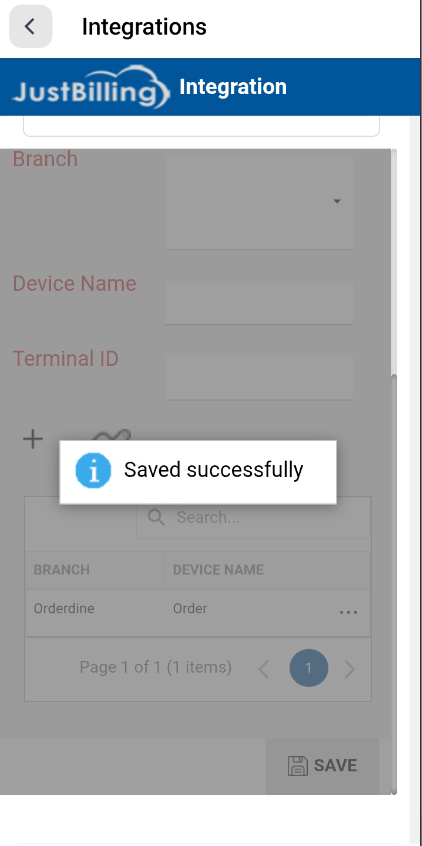
(Figure-3- Pinelabs Configuration)
Editing or Deleting Terminals
In the registered terminals list:
- Edit (Pencil icon)
Update the device name or terminal ID. - Delete (Trash icon)
Remove terminal from the store configuration.
This allows flexible management of all active Pine Labs terminals across branch
How Pine Labs Works After Configuration
Once configured:
- Pine Labs appears as a payment mode during billing.
- When selecting Pine Labs, JustBilling connects to the mapped terminal.
- Customer taps/inserts/swipes the card on the Pine Labs terminal.
- Payment result (Approved/Declined) is returned instantly into JustBilling.
- The transaction is recorded automatically.