Inventory adjustments
Inventory Adjustments
Inventory Adjustments
From this screen, you can enter system stock of a product based on its physical count. On a day to day basis, physical count of inventory may increase or decrease due to stock received or wastage, stock movement etc. Such adjustments can be entered via this page.
Just Billing app provides various types of inventory adjustment such as Initial Stock, Over Shipments, Incorrect Receiving, Breakage, Wastage, Theft, Loss, Others – StockIn, Others – StockOut, Physical Count-IN, Physical Count-OUT, Spoilt.
1. How to do inventory adjustments?
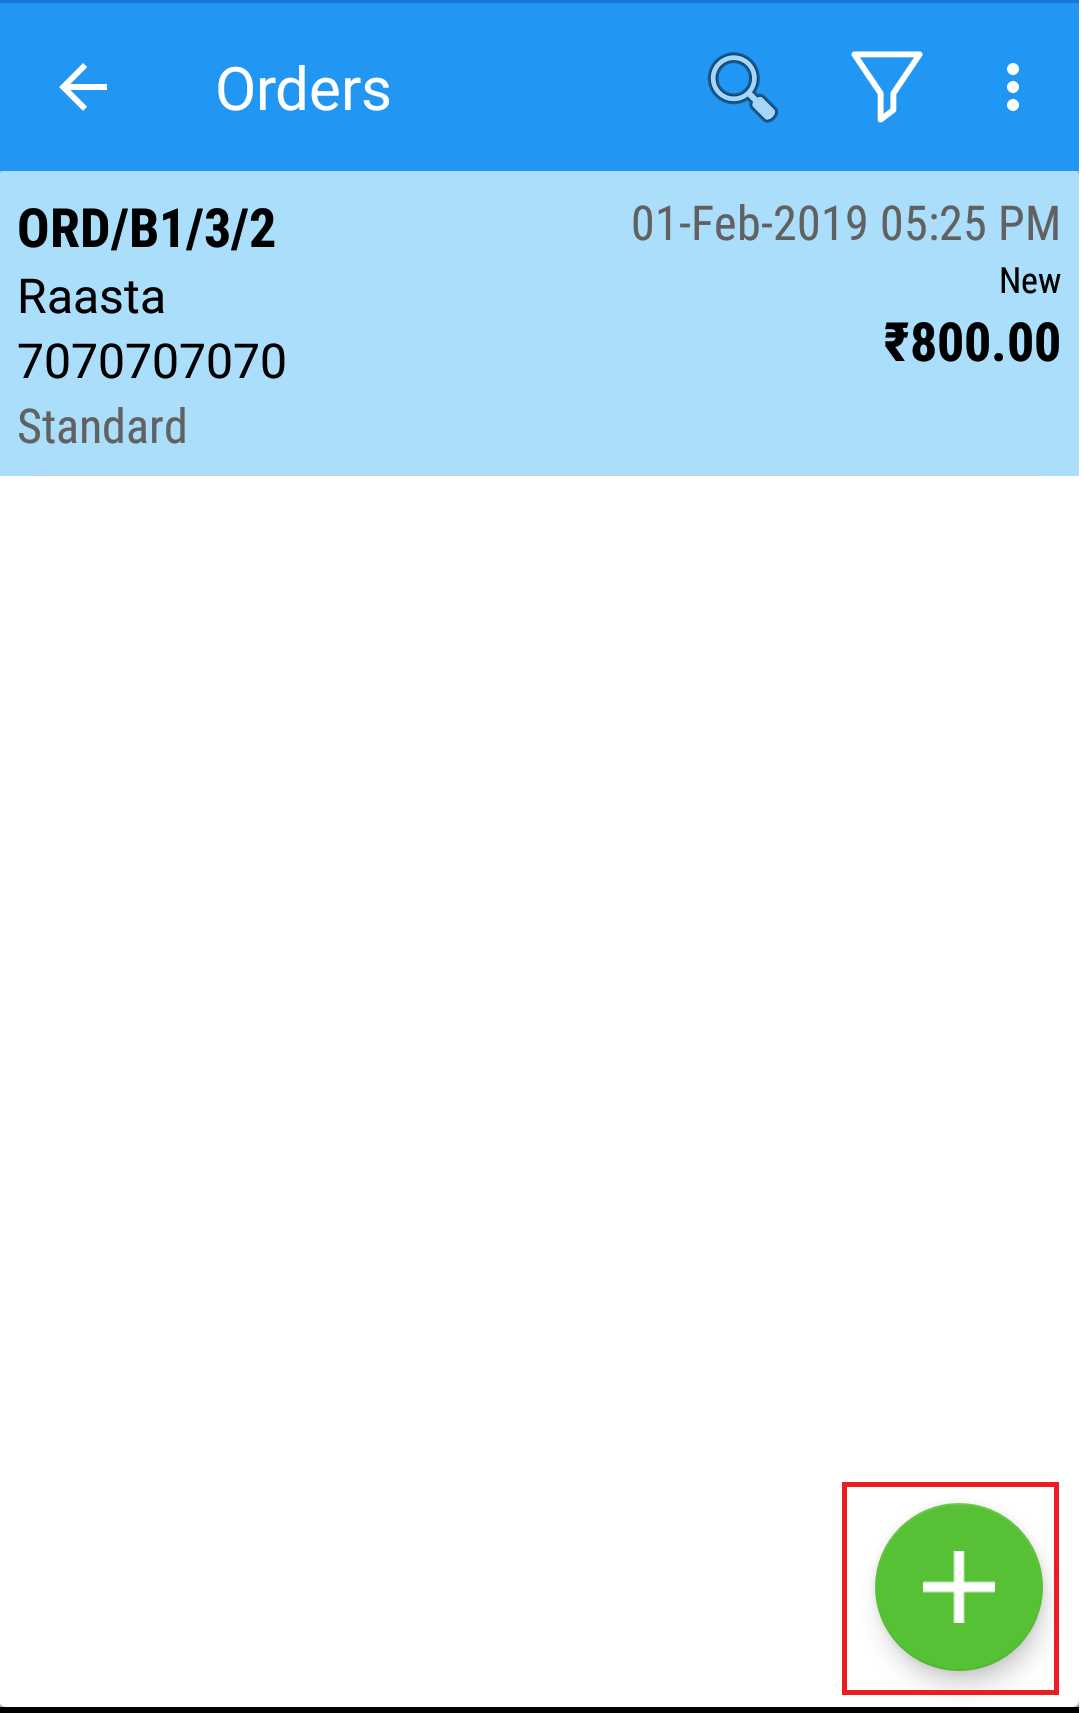
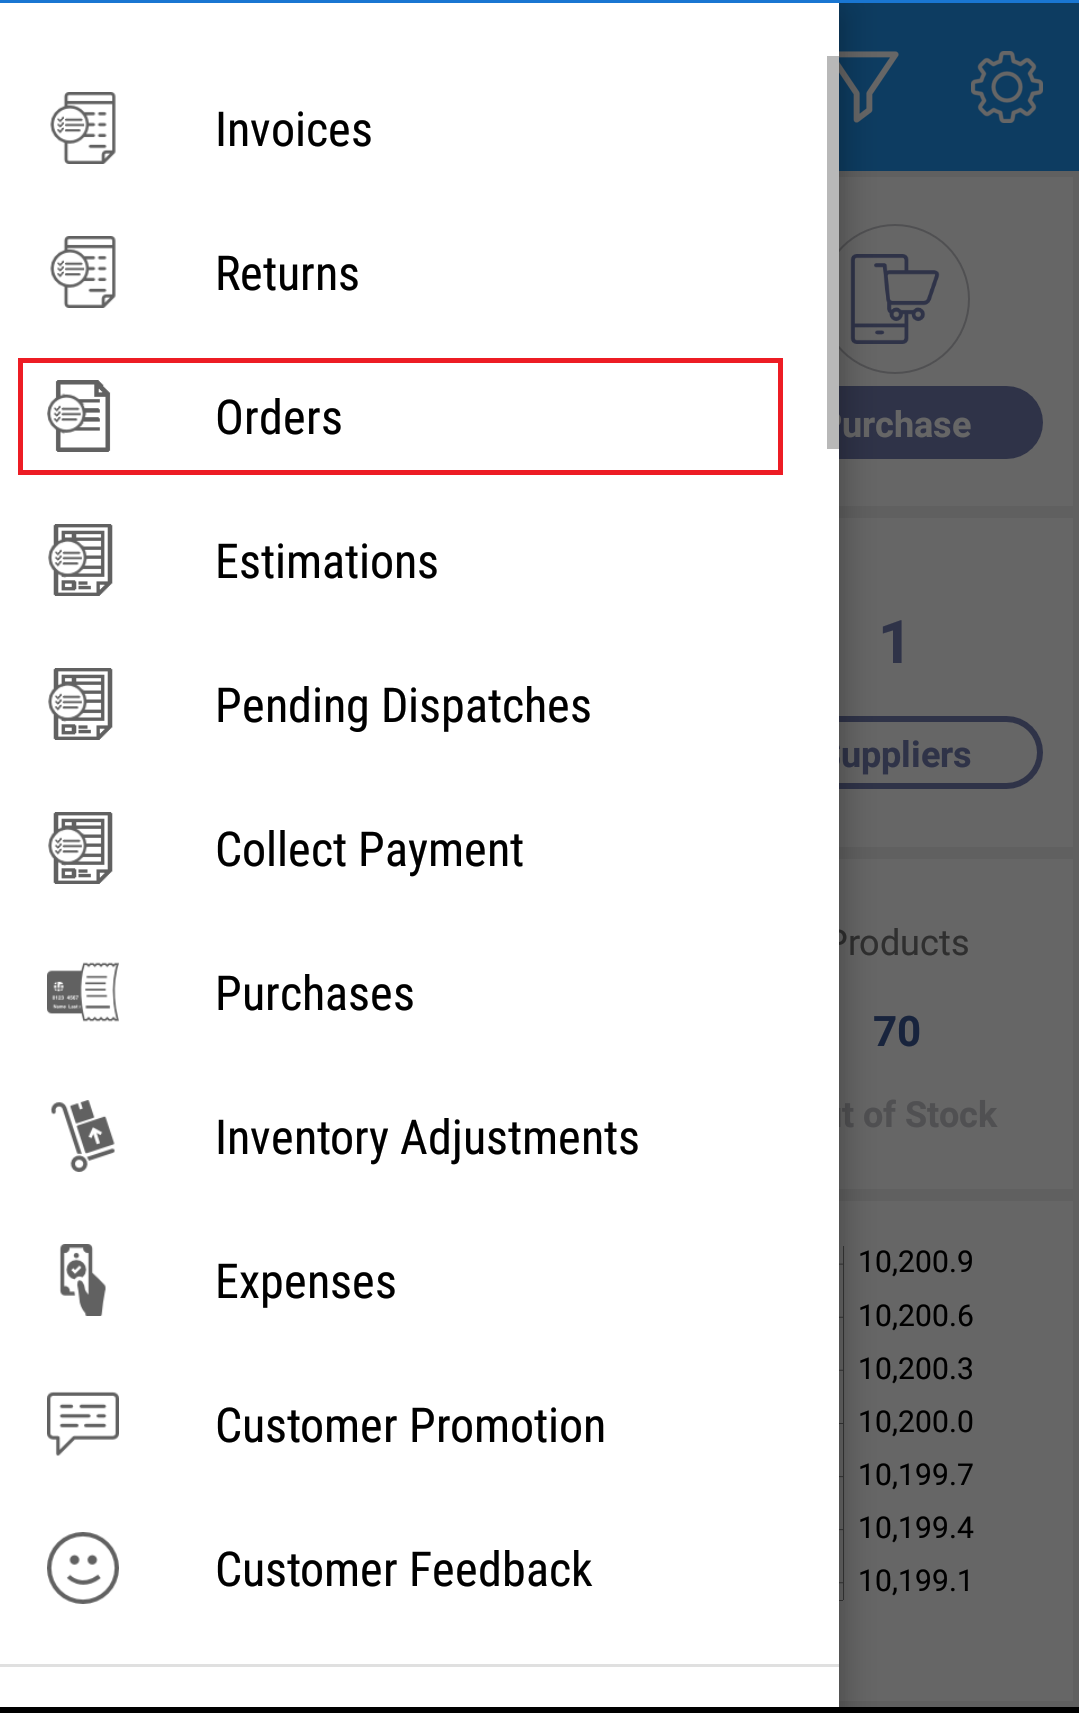
From Menu> Transactions > Inventory Adjustments page:
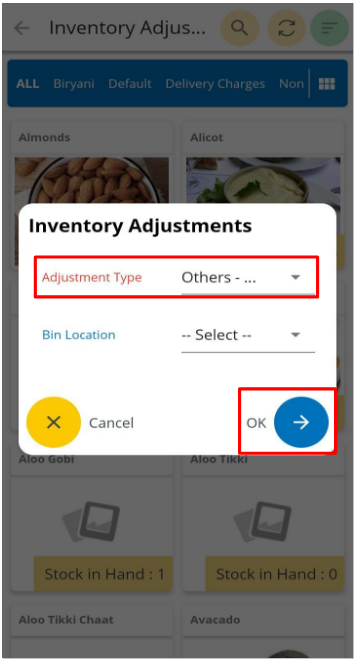
- Select an adjustment type from the drop down, for example Physical Count-IN. (see figure 1)
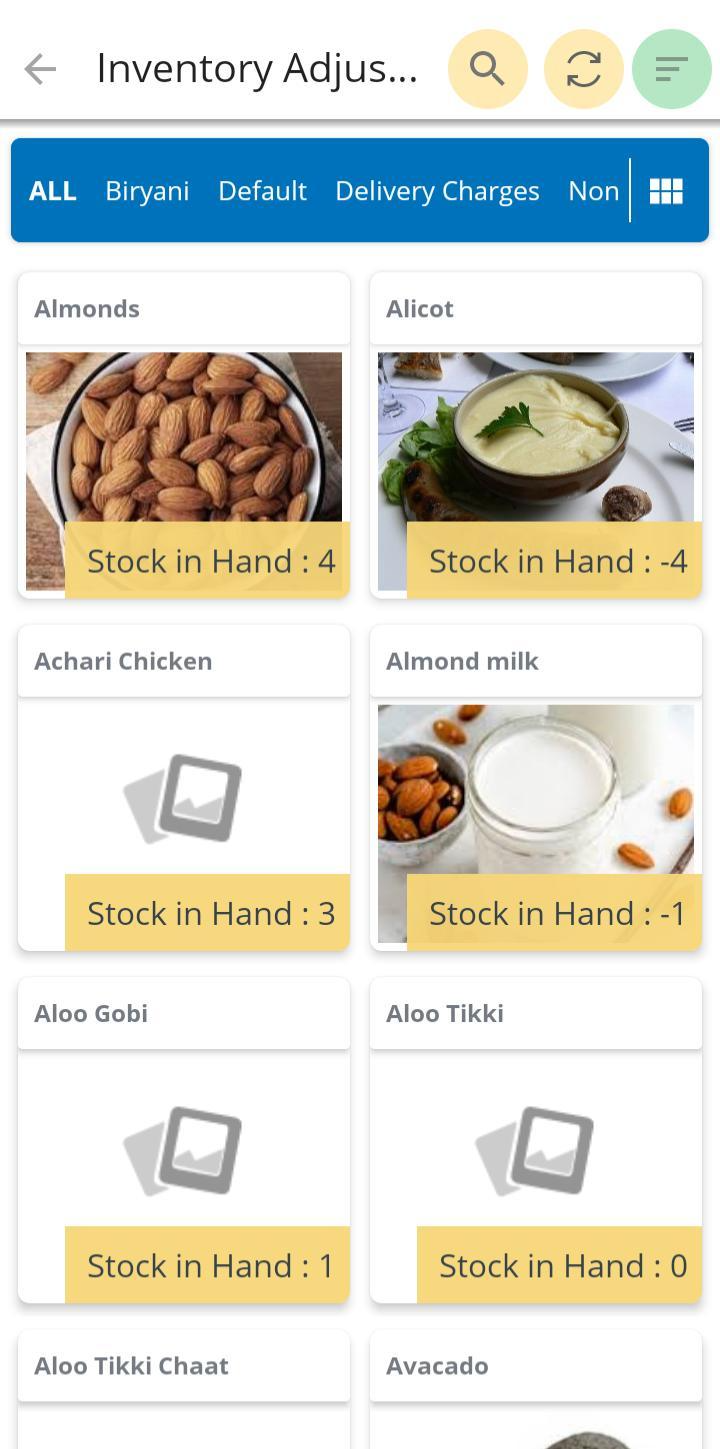
- Select product(s) for which you want to do inventory adjustment . You can select all products as well. (see figure 2)
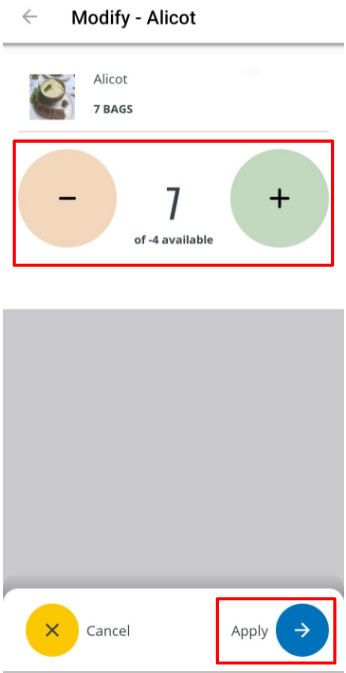
- Enter the quantity to be adjusted, for example 3, and Save. (see figure 3)

(Figure 1 - Inventory Adjustments Screen)
(Figure 2 - Adjust type Selection Screen)
(Figure 3 - Product selection cart for Adjustment Screen)
Upon Saving will update the stock; you can check the stock from Product stock report up on saving Adjustment type.
2. How to add inventory for the products managed by Serial numbers ?
From Menu> Transactions > Inventory Adjustments page:
- Select an adjustment type from the drop down, for example Other Stock-In. (see figure 4)
- Select product(s) for which you want to do inventory adjustment . You can select many products as well. (see figure 5)
- Enter the quantity to be adjusted, for example 3, Then it will open Stock-In page where you can add serial number and other details of the product. (see figure 6)
- In Add serial page you need to enter mandatory following details like serial number and admission date. Serial number : Enter serial number of the product, Admission date : Select the date when it was admitted in to your store. (see figure 7)
- You can also add other details of the product like Expiration date : Select Expiry date of the product, Warranty start date : Warranty start date of the product and Warranty End date : Select Warranty end date of the product.
- Similarly add details for other units of the same product till Total needed and total created are equal and then save .
- Then Proceed, Product Inventory is added with serial numbers.
(Figure 4 - Product selection for Adjustment Screen)
(Figure 5 - Product selection for Adjustment Screen)
(Figure 6 - Product quantity entry for Adjustment Screen)
(Figure 6 - Product Add serial Screen)
(Figure 7 - Product other details Expiry, Mfg, and Admission Date Screen)
(Figure 8 - Product Added serial Screen)
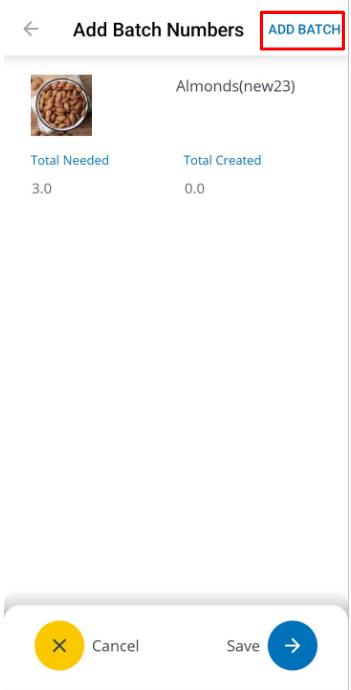
3. How to add inventory for the products managed by Batch numbers ?
From Menu> Transactions > Inventory Adjustments page:
- Select an adjustment type from the drop down, for example Other Stock-In. (see figure 9.1 & 9.2)
- Select product(s) for which you want to do inventory adjustment . You can select many products as well.
- A “batch number” is a unique identifying number (or set of letters and numbers) assigned to one product batch which can be used to identify each individual finished product made in that batch. When you assign batch numbers and put them on the products, you can just look at the product label and know immediately from which batch that particular item came.
- Enter the quantity to be adjusted, Then it will open Stock-In page where you can add batch number and other details of the product. (see figure 10.1 & 10.2)
- For example 20 where 5 units are from one batch and other 15 units are from other batch.
- In Add Batch number page you need to enter mandatory following details like Batch number and admission date. Batch number : Enter batch number of the product, Lot size : How many units of product are from this batch and Admission date : Select the date when it was admitted in to your store. (see figure 11)
- You can also add other details of the product like Manufacturing date : Select date of manufacture of the product. Expiration date : Select Expiry date of the product. (see figure 12)
- Similarly add details for other batch of the same product till Total needed and total created are equal and then save .
- Then Proceed, Product Inventory is added with batch numbers are updated.
(Figure 9.1 - Product adjustment typeScreen)
(Figure 9.2 - Product selection for Adjustment Screen)
(Figure 10.1 - Product quantity entry for Adjustment Screen)
(Figure 10.2 - Product quantity entry for Adjustment Screen)
(Figure 11 - Add Product batch and lot size details Screen)
(Figure 11 - Proceed to create Screen)
(Figure 12 - Inventory adjustment created Screen)