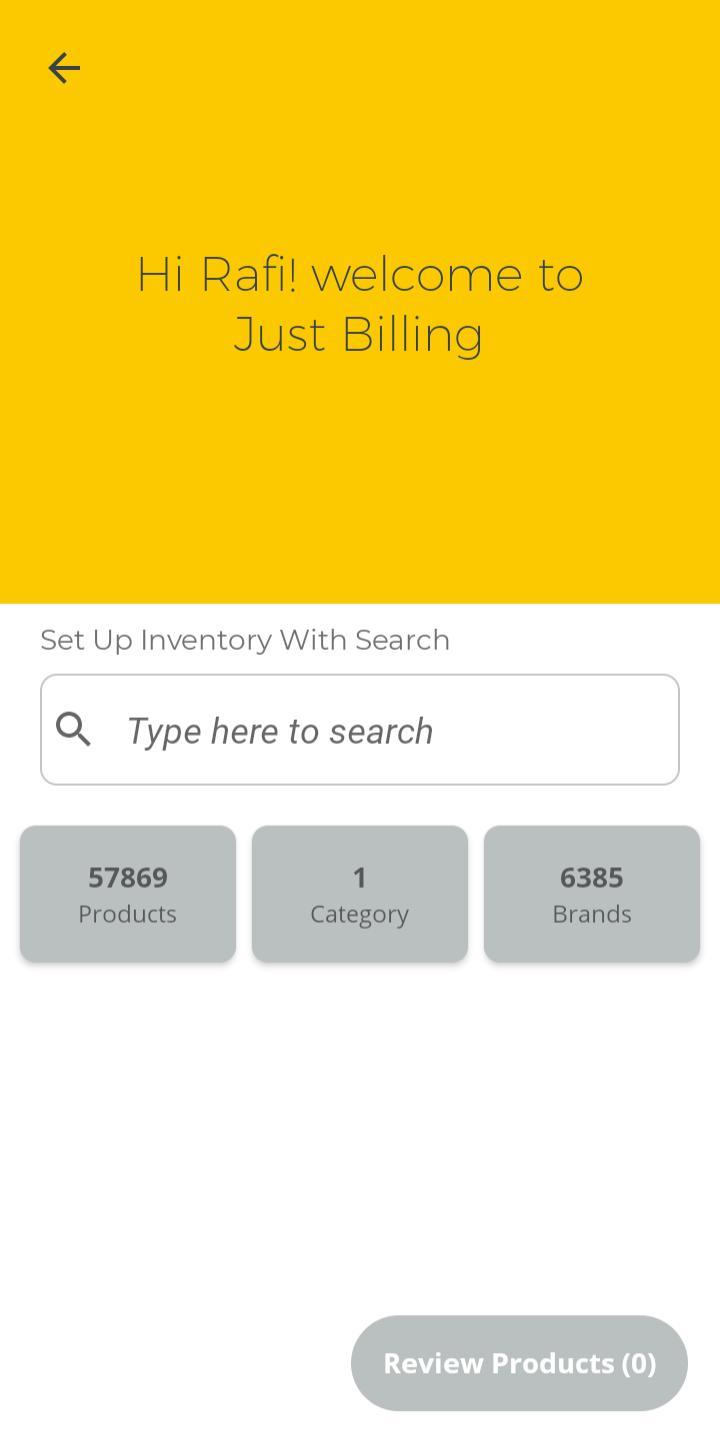
Departments
Departments
From this screen, you can add different Departments of your restaurant so that the KOT will goes to respective department based on Mapping the products to the respective department.
Departments feature is more useful to Map Products based on its preparation in different kitchen departments.
1. How to create Departments ?
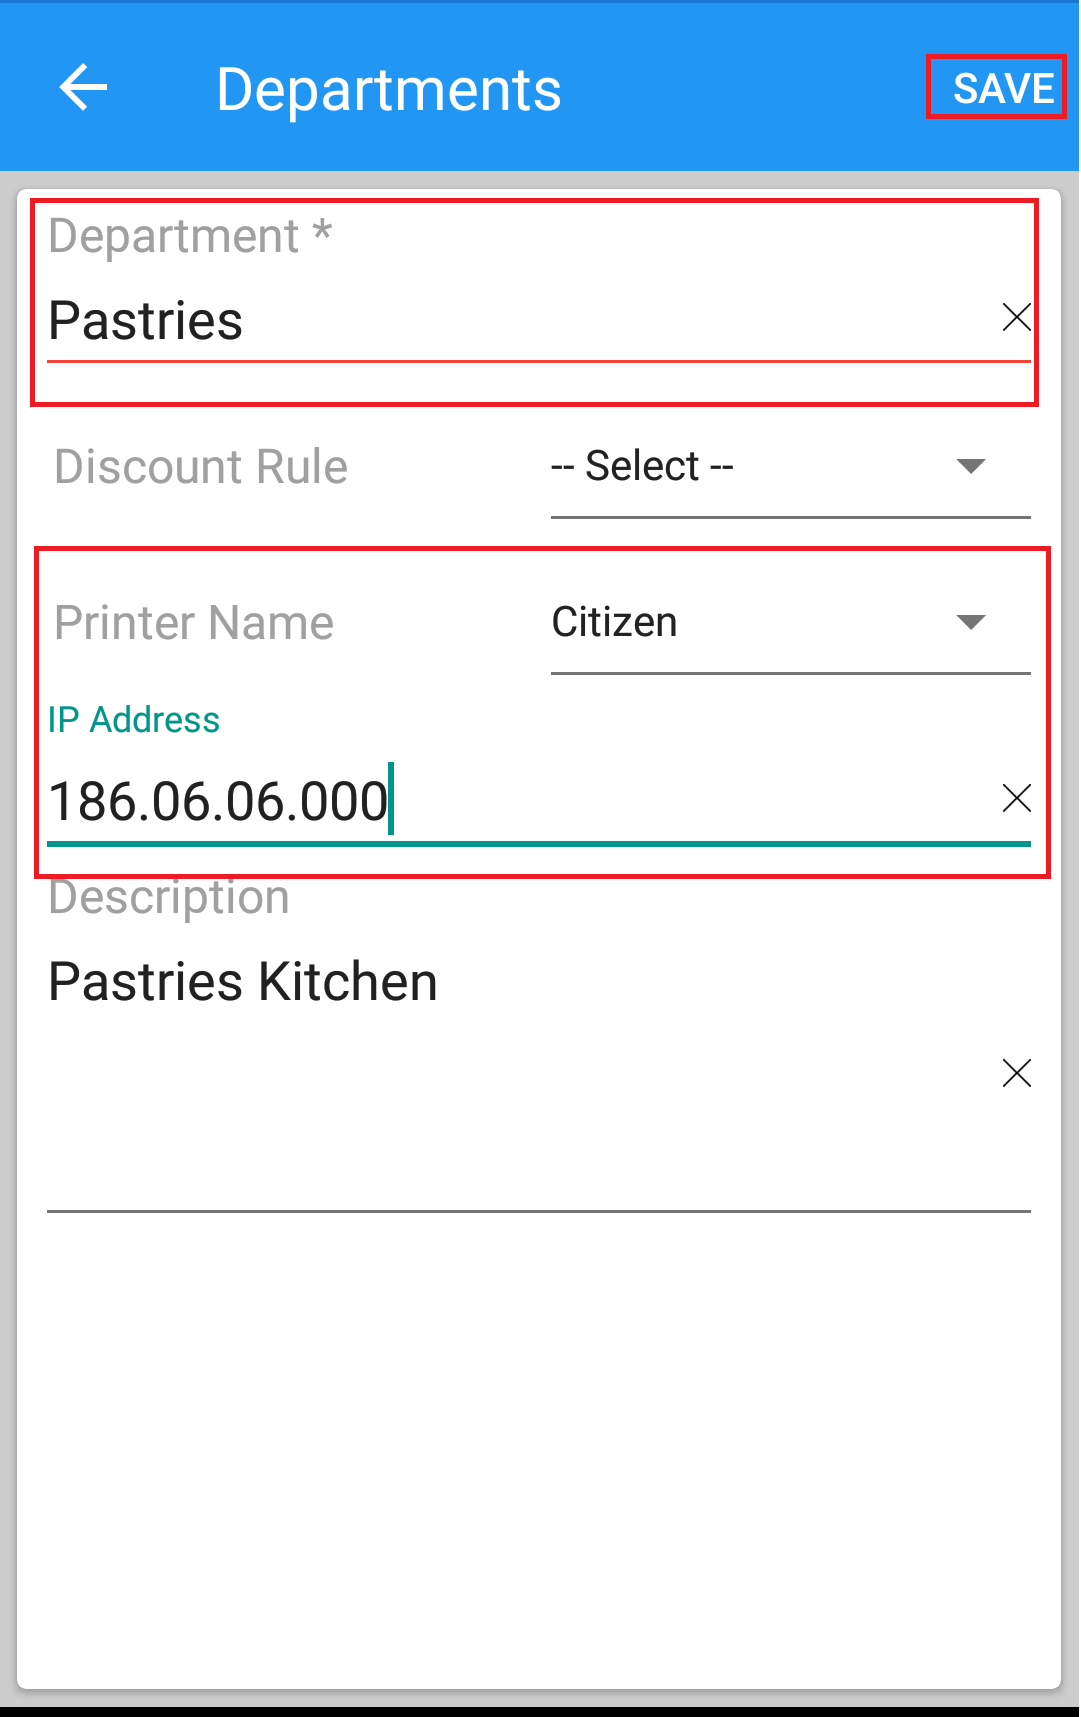
Navigate to Menu > Masters > Departments.
- Tap on the Add icon
 (see figure 1)
 - Enter the Department Name.
- Select Discount rule if any
- Select Printer name (see figure 2)
- If you are connecting printer through IP address enter the IP address of the printer
- Enter description if any
- Then save (see figure 3)
(Figure 1 : Departments Screen)
2. How to configure Printer with respective to departments ?
Navigate to Menu > Masters > Departments.
- Select the Department Name.
- Select Printer name from the list of printers available
- If you are connecting printer through IP address enter the IP address of the printer
- Then Save
- App is configured to Department specific print for all Kitchen order tickets ( KOT )
(Figure 2 : Configure Printer for Department Screen)
Example : In most of the restaurants with respect to ease of preparing food, The restaurant items are segregated based on departments. Like a restaurant having Vegetarian and Non Vegetarian kitchens separately then you can add Veg and Non Veg as two different departments.
When an order from any customer received with items belong two different departments in this case Veg and Non Veg, then KOT of the specific order will goes to respective Kitchen departments.