Configuring the application
Configuration and set up steps for Retail, Restaurant or Distribution
On successful completion of installation, the Just Billing icon will be visible on the desktop. If you select on Launch the application during Installation it will automatically opens registration page.
How to register an New Organization ?
Step 1 : Double click on the file to begin the configuration process (see figure 1).
(Figure 1 - Set up procedure - first step)
Once you double click on the file, the device asks if you would like to allow set up of the same.
Step 2 : Opens the initial configuration screen (see figure 2).

(Figure 2 - Initializing screen)
Step 3 : After the screen is initialized by default, there are two registration type options available in the application - New organization and Existing organization. Select your registration type ( Select New Organization if you want to register to Just Billing Application for the first time ). (see figure 3)
(Figure 3 - Select registration type)
Click on I Agree button on the Bottom Right corner of the screen to continue into the application as shown in below picture.
(Figure 4 - Agree to access application)
Step 4 : On clicking 'I Agree' button , the initial configuration screen opens. By default, there are different business type options available in the application - Restaurant and Retail, Distribution and Services. Select your business type to proceed (see figure 4).
For example, here we are proceeding with Retail.
(Figure 5 - Business Type)
After selecting business segment, redirects you to the Subscription Type window.
Step 5 : Select the type of subscription - Free or PROFESSIONAL (see figure 6) and click on proceed button at the bottom right corner of the screen.
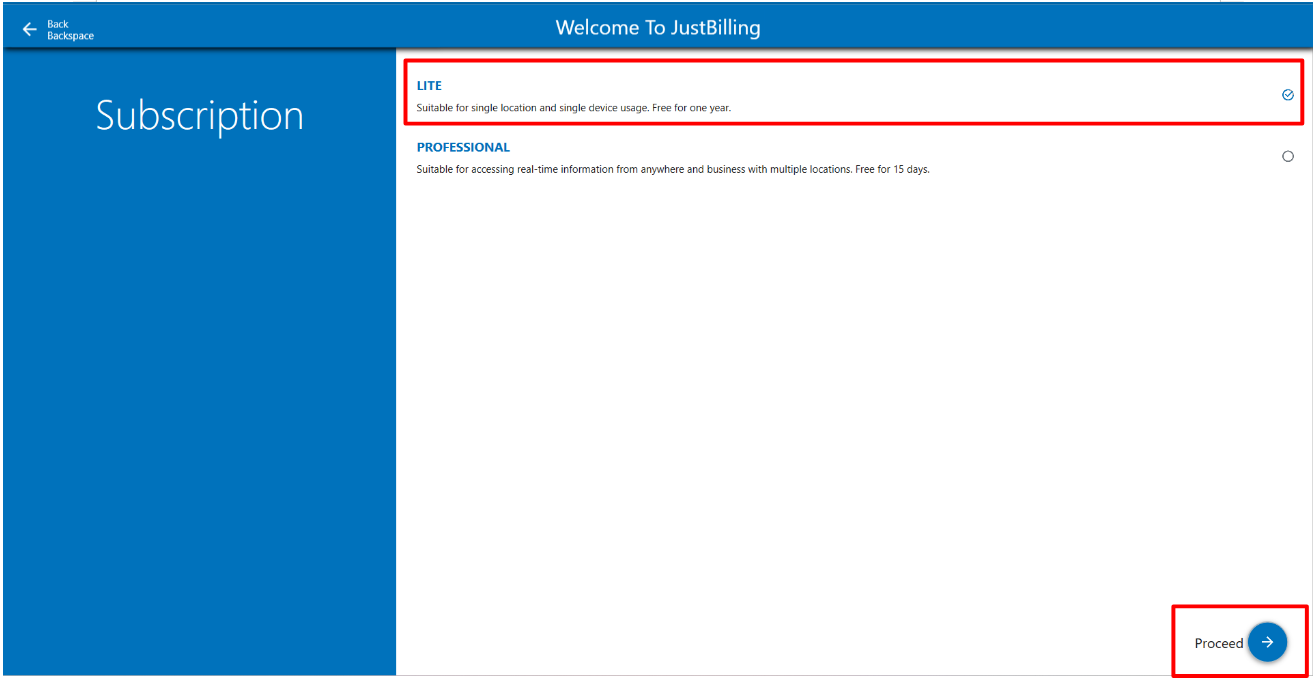
(Figure 6 - Select subscription)
- You can add subscription code for the Lite version as shown in the (Figure 6 - Select subscription)
- Free (Standalone) - Free subscription will provide you a standalone application. It is more suitable for organizations with single branch.
- PROFESSIONAL (With web portal) - Professional subscription will come with back end web portal. It is more suitable for organizations with multiple branches, thus requiring centralized management and real time access to of business data. In PROFESSIONAL subscription data is synchronized in real time from all the branches to the back end web portal and vice versa.
In this guide we will be discussing about configuring the LITE (Without web portal) subscription.
Step 6 : Select the option 'Lite version' and 'I have read and agree to the Terms of Use and Privacy Policy'.
Note: Verify button will be activated only after the terms of use has been accepted.
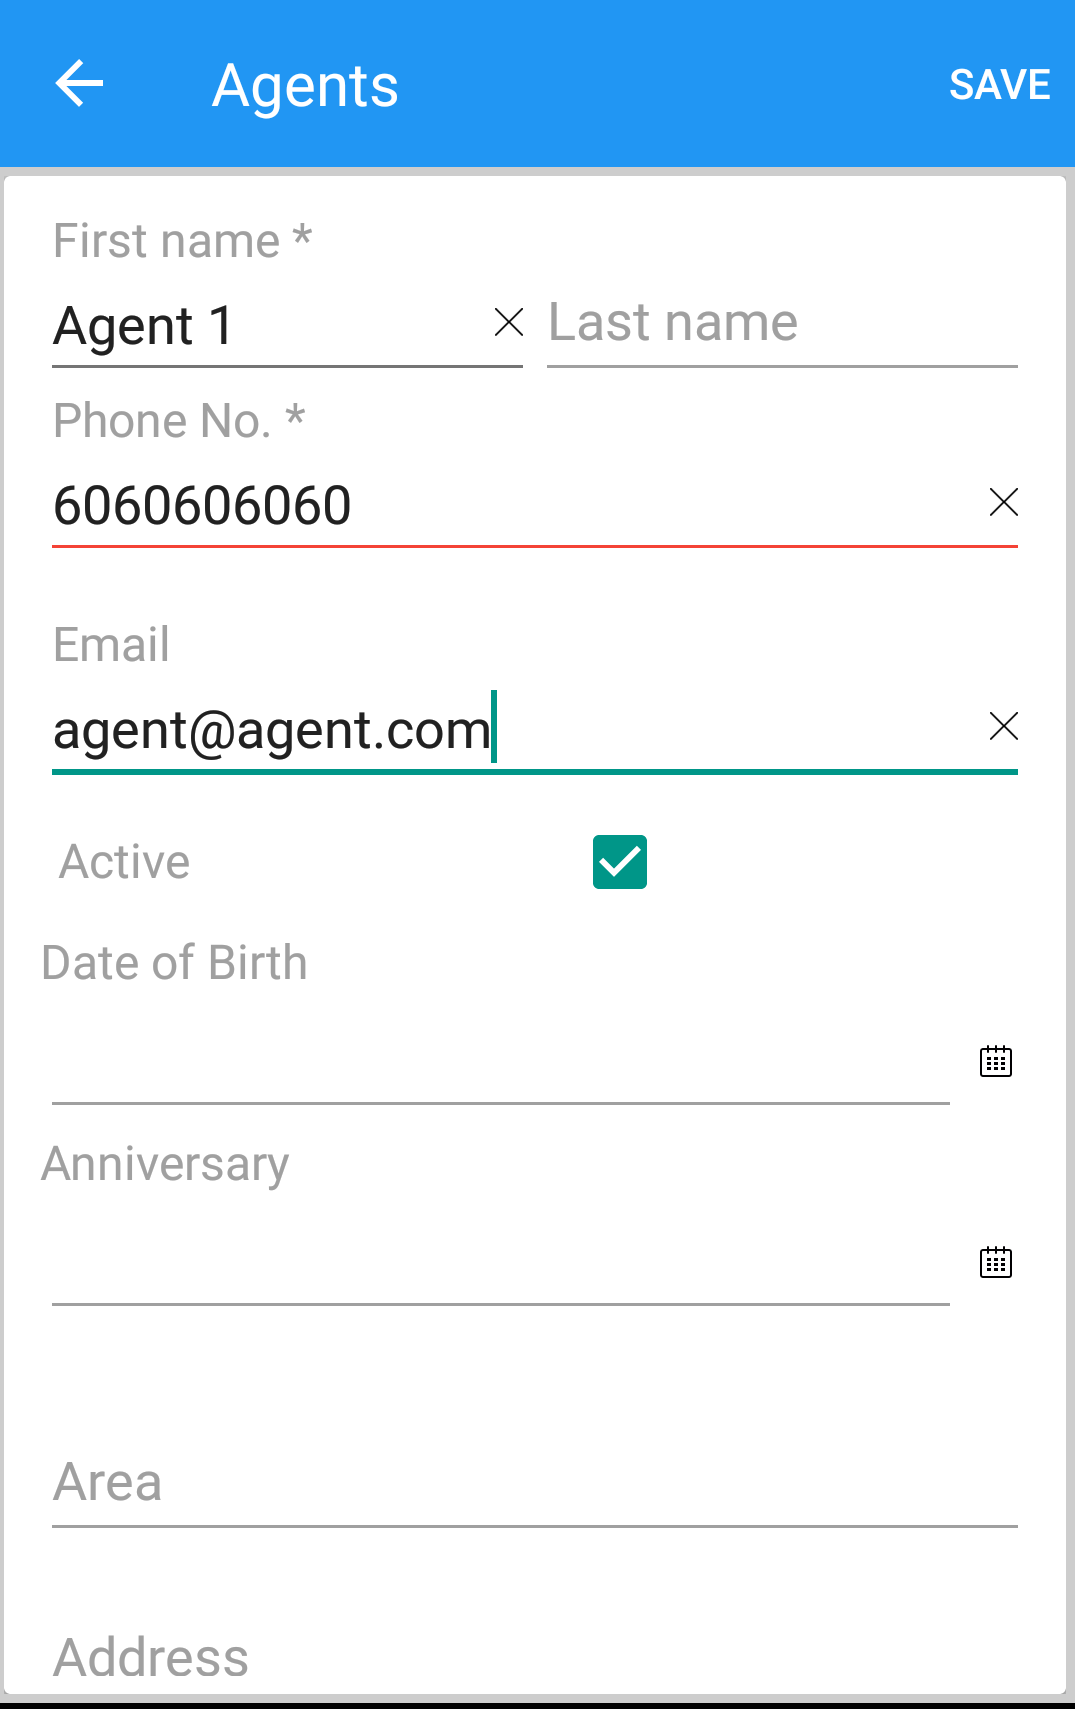
Step 7 : Tapping on proceed button, opens will prompt you to enter various organization details like Company name, Owner name, Mobile No, Email, Password, Confirm password, Country, State, City, GSTIN number, Currency, Preferred language, Address and Referral code. (see figure 7).
Note : Enter all the details that which are highlighted in Red colour as they are mandatory fields to register.
(Figure 8 - Registration details)
Step 8 : Tapping on Verify opens will prompt you send OTP to registered Mobile number and Email.(see figure 8A and 8B).
Enter the OTP in OTP page once OTP is accepted then it will take some time to directly launch the application with Business details page.

After entering the OTP, click on enter '↵' button to proceed.
(Figure 8A - Loading Just Billing Application)
Step 9 : When the set up procedure gets completed, it will redirect you to the inventory setup screen (See figure 8B).
(Figure 8B - Inventory setup screen)
How to register an Existing Organization ?
Step 1 : Double click on the file to begin the configuration process (see figure 1).
(Figure 1 - Set up procedure - first step)
Once you double click on the file, the device asks if you would like to allow set up of the same.
Step 2 : Opens the initial configuration screen (see figure 2).
(Figure 2 - Initializing screen)
Step 3 : By default, there are two registration type options available in the application - New organization and Existing organization. Select your registration type ( Select Existing Organization if you want to register to Just Billing Application with registered organization ) and click on 'Next' to proceed (see figure 3).
Note : For Existing Organization you need to enter Organization code and Account ID, These details are sent via email at the time of initial registration with Just Billing Application. kindly check your email to get these details
(Figure 3 - Registration Type)
Step 4 : After clicking existing organization, Click on I Agree button on the Bottom Right corner of the screen to continue into the application as shown in below picture.
(Figure 4 - User Type)
Step 5 : After Agreeing to the terms and conditions, the application directs to enter Organization code and Account ID and click on verify button as shown in (Figure 5 - Account details )
(Figure 5 - Enter Account details )
After entering the details, you need to enter the User name and Password then click on Sign In button as shown in

(Figure 6 - Enter Account details )
On clicking Sign In, Will open Subscription details as shown in (Figure 7.a - Subscription details ) and click on proceed and also will ask you download transaction date for the last 30 days click on yes if you want to download or No if you don't want to download as shown in (Figure 7.b - Download transactional data ). However all the previous transactional data are still available in the cloud.
If you have days remaining to use the software to use system will fetch with Days remaining, If you don't have days left to use the software then you need to click on Enter subscription code and then click on renew option then it will automatically fetch you with days remaining and take you to Login screen or Dashboard.
(Figure 7.a - Subscription details )
(Figure 7.b - Download transactional data )
Step 6 : On clicking Yes or No option, Then system will take some time to directly launch the application with Business details page.
(Figure 6 - Loading )
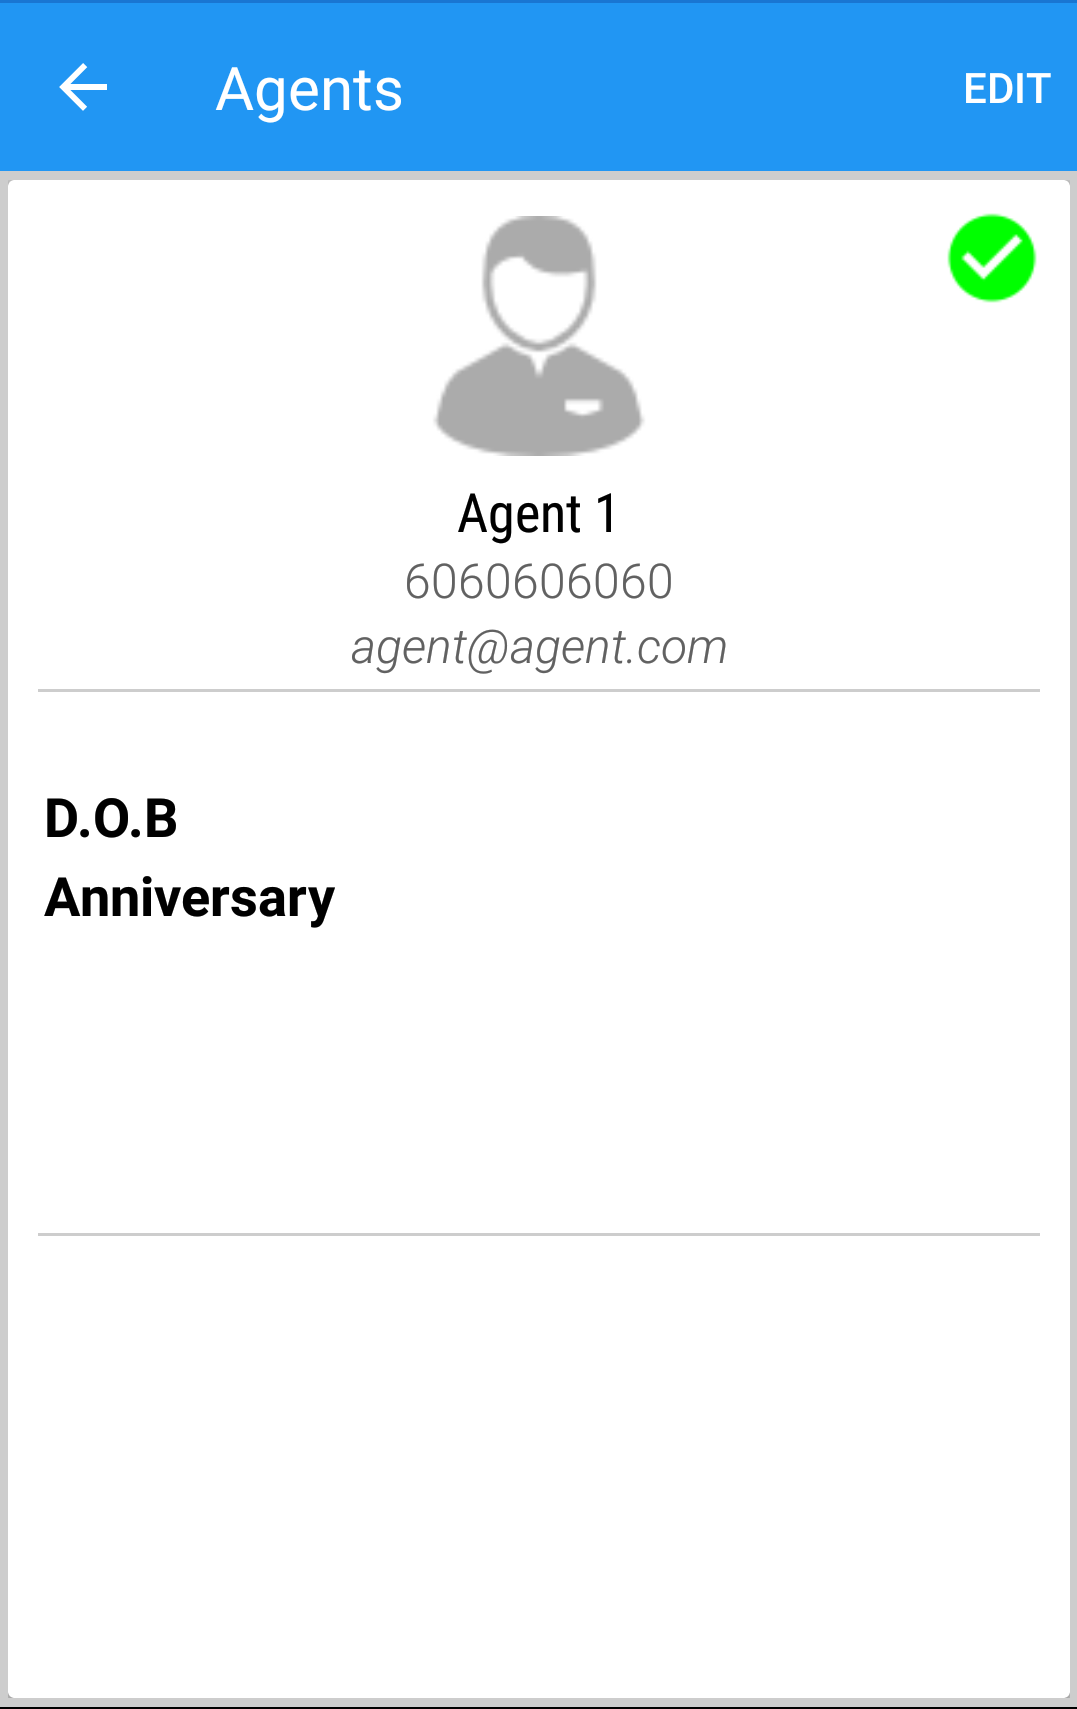
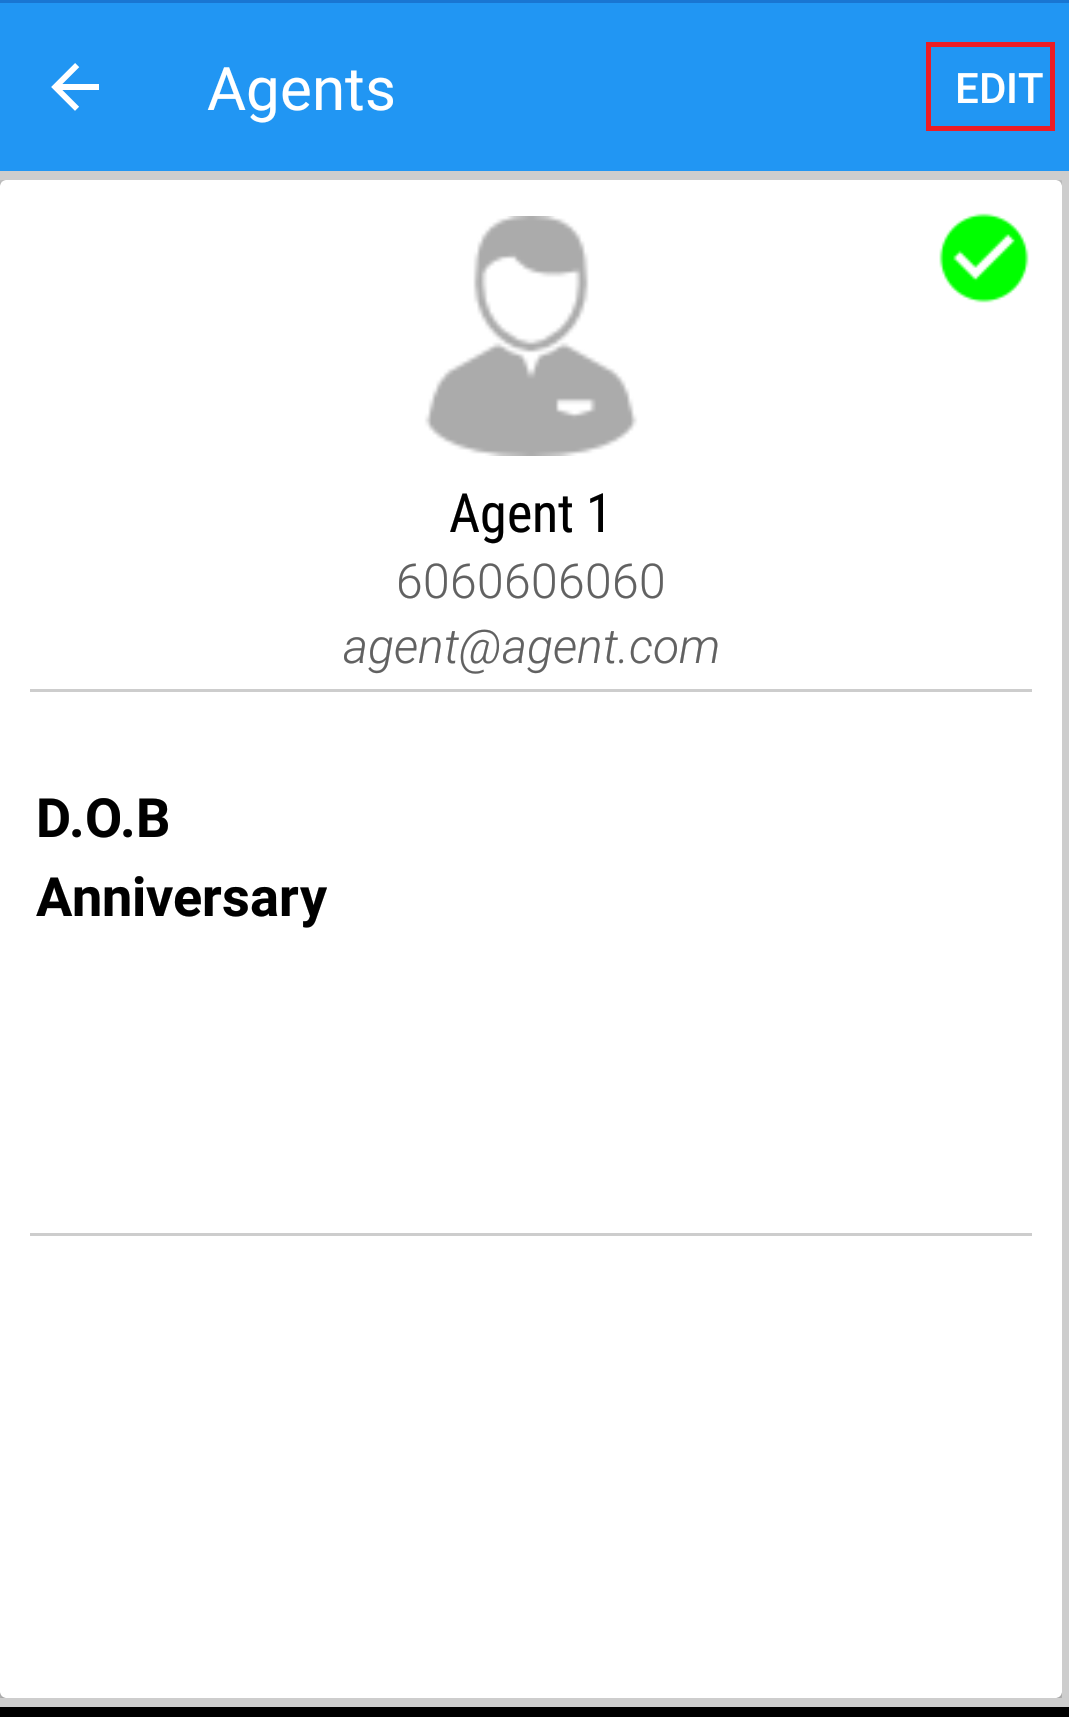
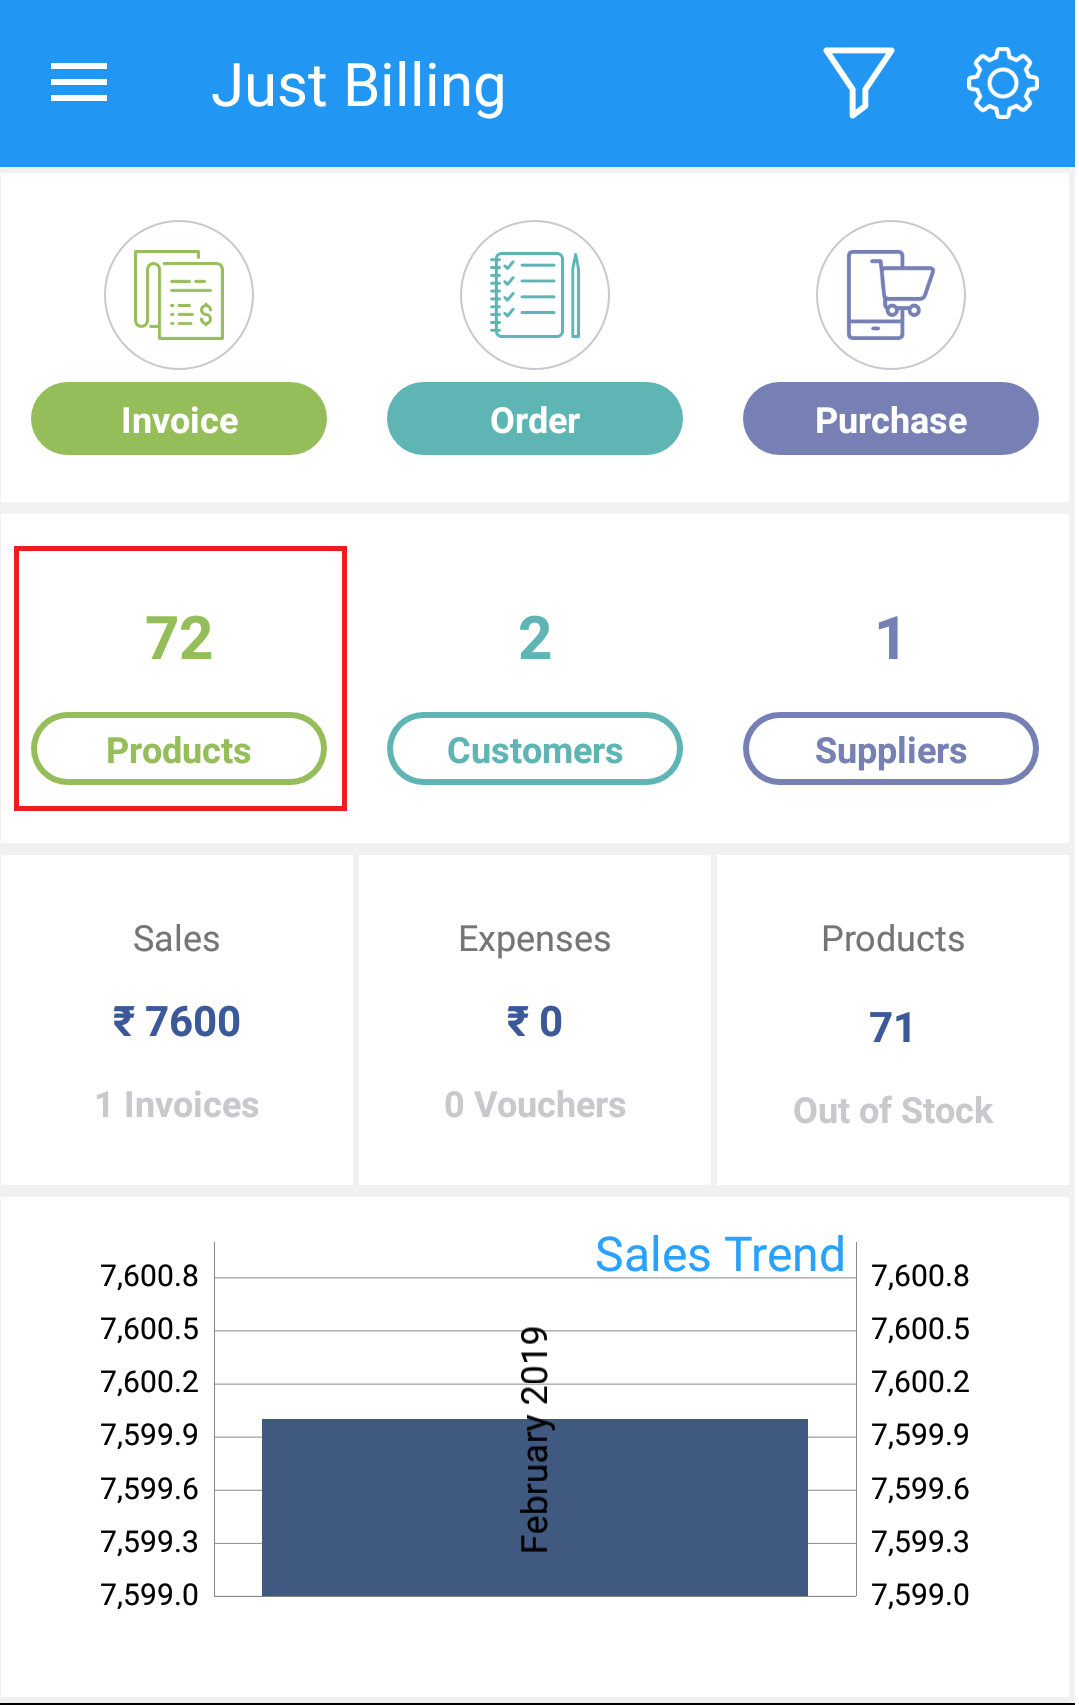
Step 7 : After some time you will be redirected to Dashboard screen.

(Figure 7 - Dashboard screen)