Configuring the app
Configuration the app
Stated below are the steps to configure the app for your business type.
1) On completion of installation, the initial configuration screen opens.
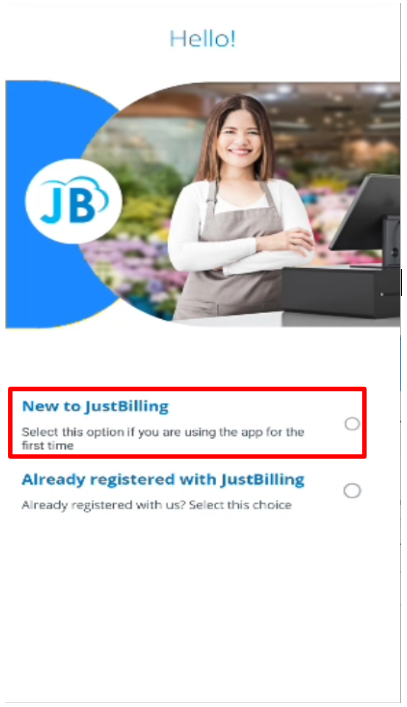
Select your registration type. There are two options available in the Portal Registration page : (See figure 1 below ).
- New Organization - This option should be selected if users are subscribing to the app for the first time.
- Registered Organization - This option should be selected by existing users of the app.
(Figure 1 - Registration type selection)
2) Select the type of registration - New Organization or Registered Organization subscription - Lite or PRO (With web portal).
In this guide we will be discussing about configuring new organisation with PRO (With web portal) subscription.
Case 1 : Portal registration for New Organization (this is for first time users of Just Billing Android)
Step a : Select New Organization (See figure 2 below ).
(Figure 2 - New Registration type )
Step b : After selecting the Organization Type, you will be directed to a screen displaying a set of required permissions, including access to Camera, Storage, Location, and Contacts, along with the application's Terms and Conditions.
Review the permissions and policies carefully, then click on the “I Agree” button to proceed with the domain creation process. (See figure 3.1 & 3.2 below )
(Figure 3.1 - Allow permissions & Agree terms and conditions)

(Figure 3.2 - Allow location permissions)
Step c : Select type of business Vertical and Business Template.
Select type of business vertical as Retail from Retail , Restaurant and Distribution.
By default, there are four business vertical type options available in the app - Retail, Restaurant, Filling station and Distribution. Select your business type as Retail (See figure 4 below).
(Figure 4 - Business Vertical Type )
Step c : Select type of Subscription from Free or Professional.
- Lite (Standalone) - Lite subscription will provide you a standalone app. It is more suitable for organizations with single branch.
- PRO (With web portal) - Pro subscription will come with back end web portal. It is more suitable for organizations with multiple branches, thus requiring centralized management and real time access to of business data. In PRO subscription data is synchronized in real time from all the branches to the back end web portal and vice versa.
In this guide we will be discussing about configuring the Lite (Without web portal) subscription.
Step d : Select the option Lite (See figure 5 above ).
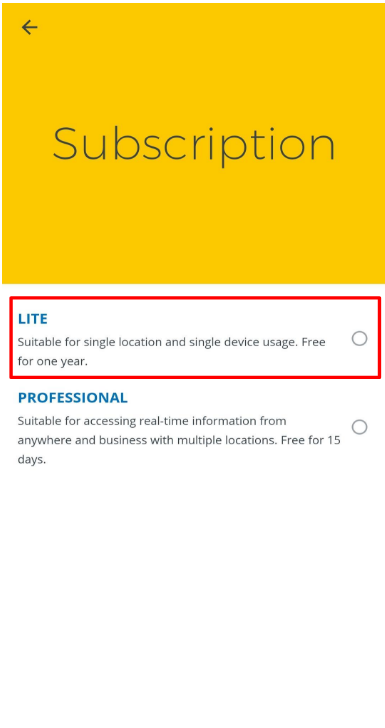
(Figure 5 - Subscription Type )
Step e : Enter registration details - Company Name, Owner Name, Email Address, Mobile Number, User-name, Password, Confirm Password, Currency, Address and Next (See figure 7, 8 &9 )
(Figure 7 - Registration details for new organization)
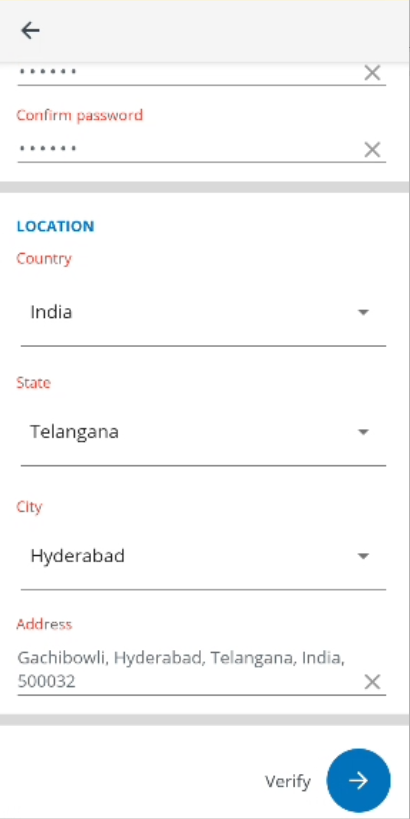
(Figure 8 - Registration details for new organization)
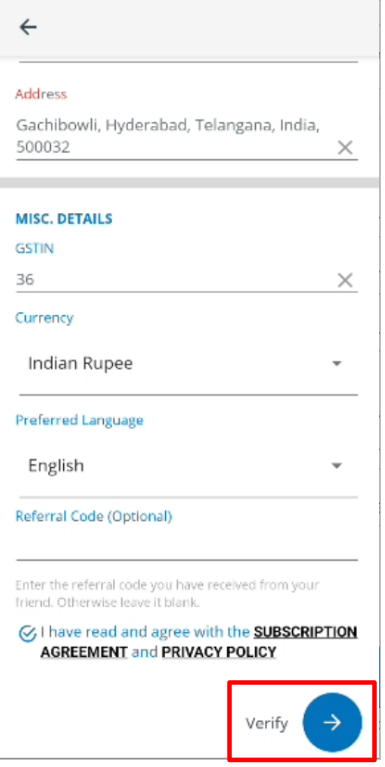
(Figure 9 - Registration details for new organization)
All the fields which are underlined by red color in this page are mandatory.
Step f : When you tap Verify, it starts registering your subscription and an activation code will be emailed to the email id and sms's to the mobile number you entered in the Registration Details Page.(See figure 9 below).
(Figure 9 - Sending activation code to registered Email / Mobile Number)
Step g : Enter the activation code and tap on Activate (See figure 10 below).
Note: If you do not get any code on your mail id or mobile number, tap on Resend Code.
Activation code through SMS is only for Indian mobile numbers.
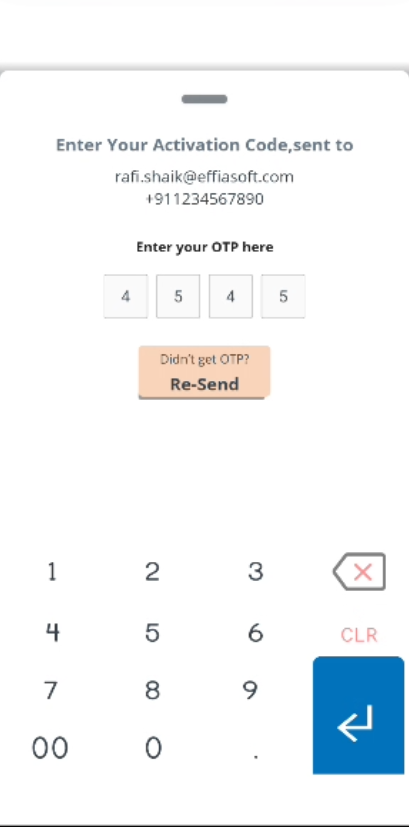
(Figure 10 - Activation code)
(Figure 11 - Downloading Data from Back office)
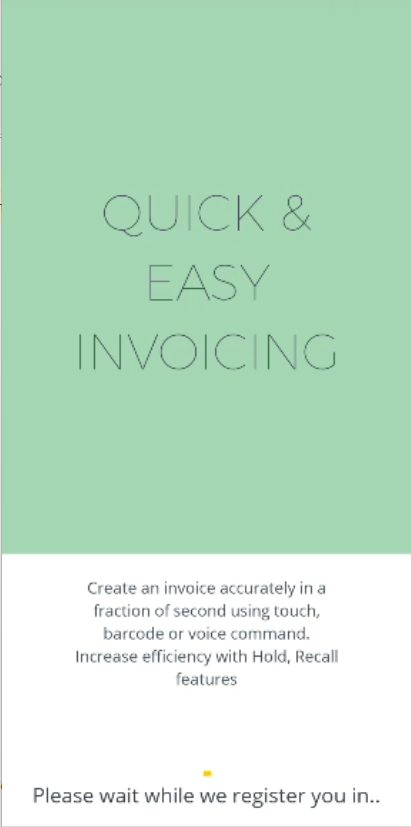
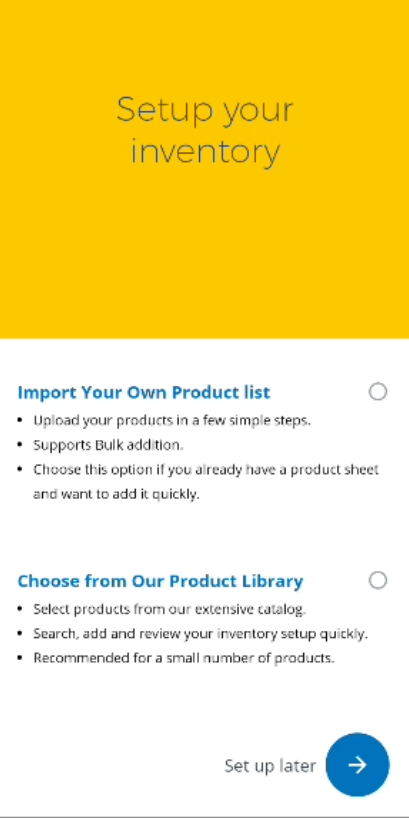
When the set up procedure gets completed, it will redirect you to the inventory setup screen (See figure 12).
(Figure 12 - Just Billing Home Screen)
Up on Successful registration of the Business vertical and Template then you will get an welcome subscription Email which has the information of your subscription details like Portal Url, User Name, Password, Data Import Url, Organisation Code and Account ID.This Information is very important for you to reinstall Again in any case where you are forced to Un install and reinstall the application for some reason.(See figure 13 & 14)

(Figure 13 - Just Billing Welcome Email)

(Figure 14 - Just Billing Environment Details)
Case 2 : Portal registration for Registered Organization (this is for users who already have a Just Billing Android subscription)
Step a : Select Registered Organization (See figure 15).

(Figure 15 - Select Already registered with JB option)
Step b : Click on I Agree button to allow app permissions.
Enter Organization Code, Account ID, Branch Code and select Proceed. The Organization code and Account ID will be sent to your email id and mobile first time when you have subscribed (during first time registration). (See figure 16 below)

(Figure 15 - Agree to allow permissions)
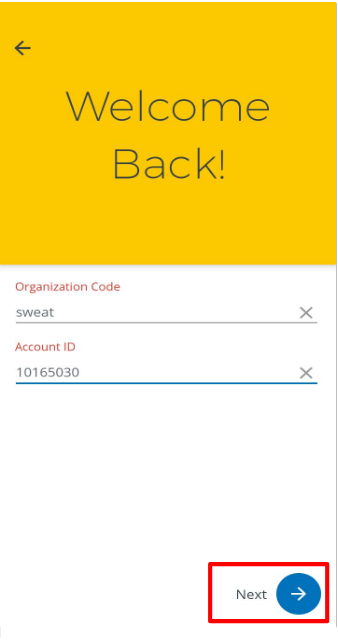
(Figure 16 - Add your domain details)
Step c : When you tap on next, it opens the screen with new user and existing user Details.
Enter login with previous registration details and proceed next (See figure 17 below).
(Figure 17 - Login details for existing organization)
When you tap on Next, the app starts registering your subscription.
Step d : After entering registration details it will fetch you with remaining days. In case of free trial by default it will fetch remaining days. Click on Proceed (See figure 18 below).


(Figure 18 - Fetching Subscription days)
Step e : Upon Proceeding to next then it will ask do you want to download transnational data if you want to download previous transaction data then click on OK, Then it will automatically complete the registration (See figure 19 below).
(Figure 19 - Download transactional data)
Step f : Once you click on OK, Then it will automatically complete the registrationDownloading feed/demo data from back office is in progress (See figure 20 below).

(Figure 20 - Downloading transactional and feed data from cloud)
Step g : After successful registration it will open Just Billing Home page dashboard (See figure 21 below).
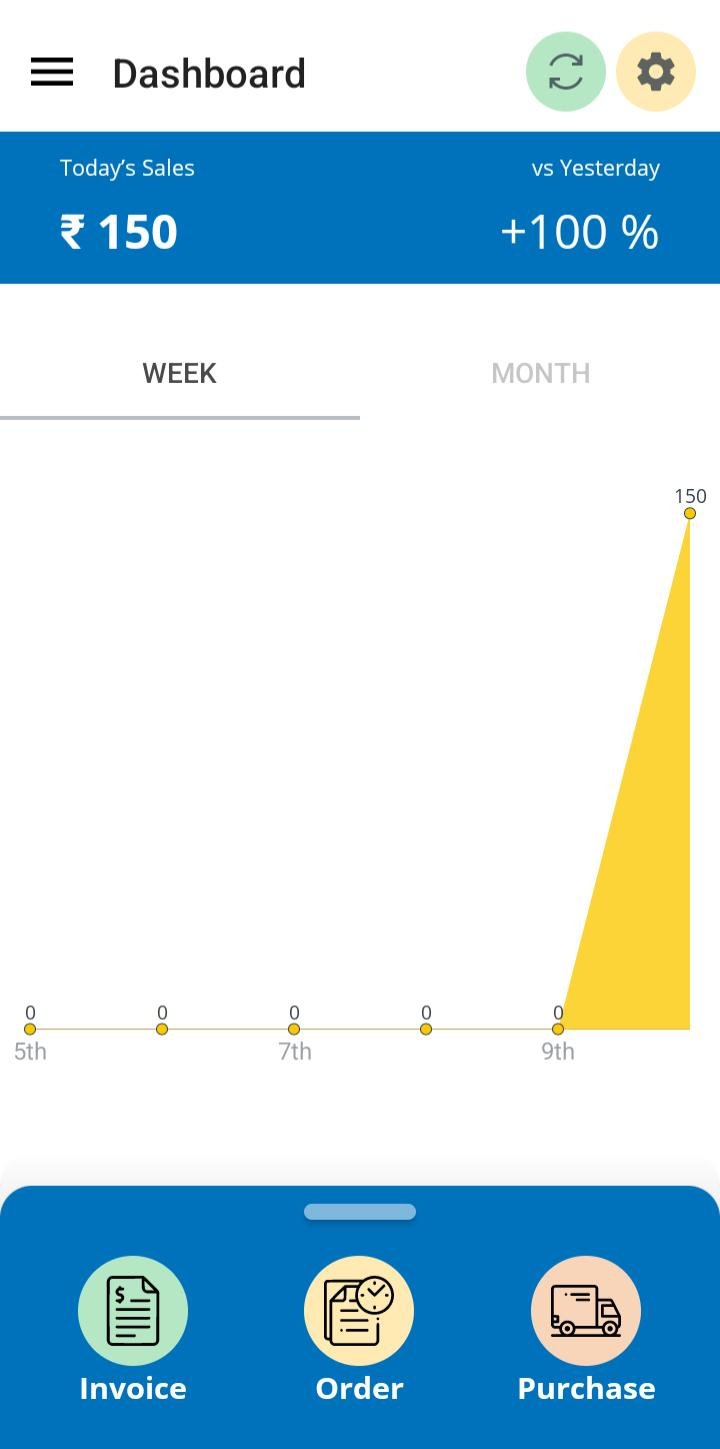
(Figure 20 - Just Billing Home Page Dashboard)